

Krea 3 Facade Material Studies: Preserve Windows and Massing
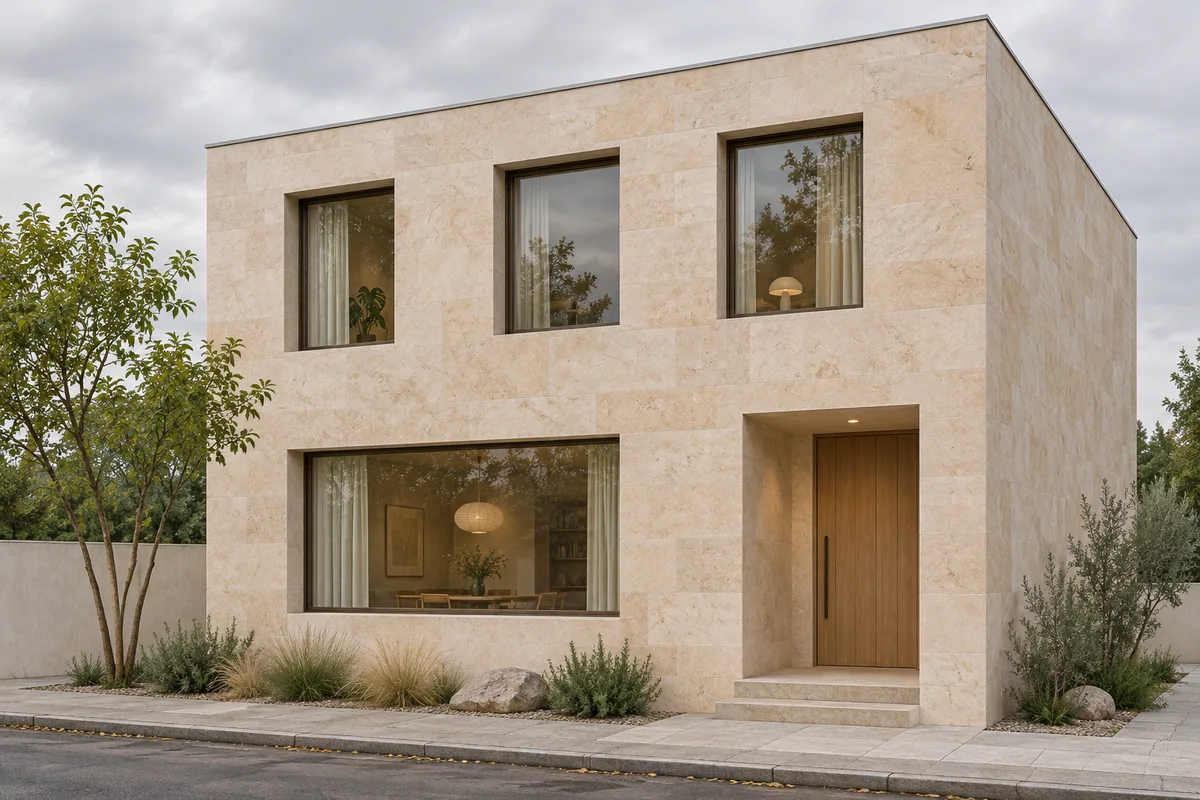
For a Krea 3 facade material study, start with one fixed exterior view and change a clearly named surface. Keep the openings, roofline and camera position in the brief, then inspect those features before comparing the finish.
You can prepare the edit in the Krea2 image workspace with Krea3 selected in Image-to-Image mode. Krea's launch article describes targeted material editing and architectural visualization. This guide provides a planning and review method for early facade options.
Choose a view with readable geometry
Use a photograph or render you have permission to edit. A front or gentle three-quarter view should show the wall surfaces, openings and corners you need to compare. Keep an untouched copy at its original dimensions.
Our example is a small two-story building with a flat roof, three upper windows, a wide lower window and a recessed entrance. The first option changes the main wall finish from gray plaster to pale limestone.
Check the source before uploading. Reflections, trees and strong shadows can hide the boundaries of windows or cladding. Choose a clearer view if those boundaries are essential to the decision. If your starting point is a drawing, the sketch-to-render workflow covers preparing that input.
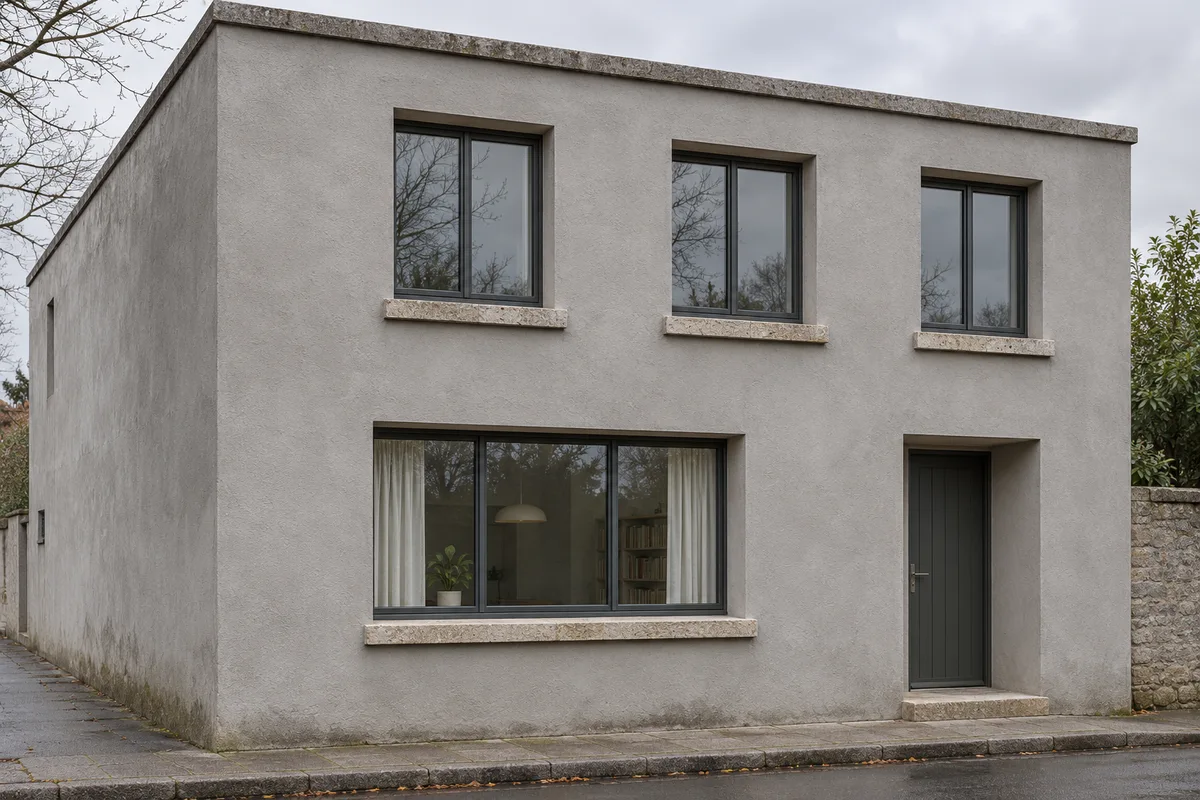
Generated source-view illustration for this fictional study.
Define the finish and where it stops
Describe the material's color, surface and approximate module size. Specify which walls receive it and which details stay as they are. A limestone reference should explain the stone texture and joints without supplying a new building design.
For the first attempt, use the source view and one relevant material reference. The reference image guide explains how to assign a distinct role to each input.
In the workspace, confirm Krea3, Image-to-Image and an aspect ratio matching the source. Review the displayed credit amount for your selected settings. Adapt this original prompt to your image:
Use image 1 as the building and camera reference. Replace only the gray plaster on the main exterior wall planes with pale warm limestone in medium rectangular courses, using the surface character of image 2. Preserve the roofline, building corners, all window and door openings, frames, sills, entrance recess, pavement and planting. Keep the same camera position and overcast daylight. Let the stone joints follow each wall's perspective and stop cleanly at the openings.
If you want timber around the entrance as a second option, make that a separate edit from the same original view. This gives each option a clear material decision.
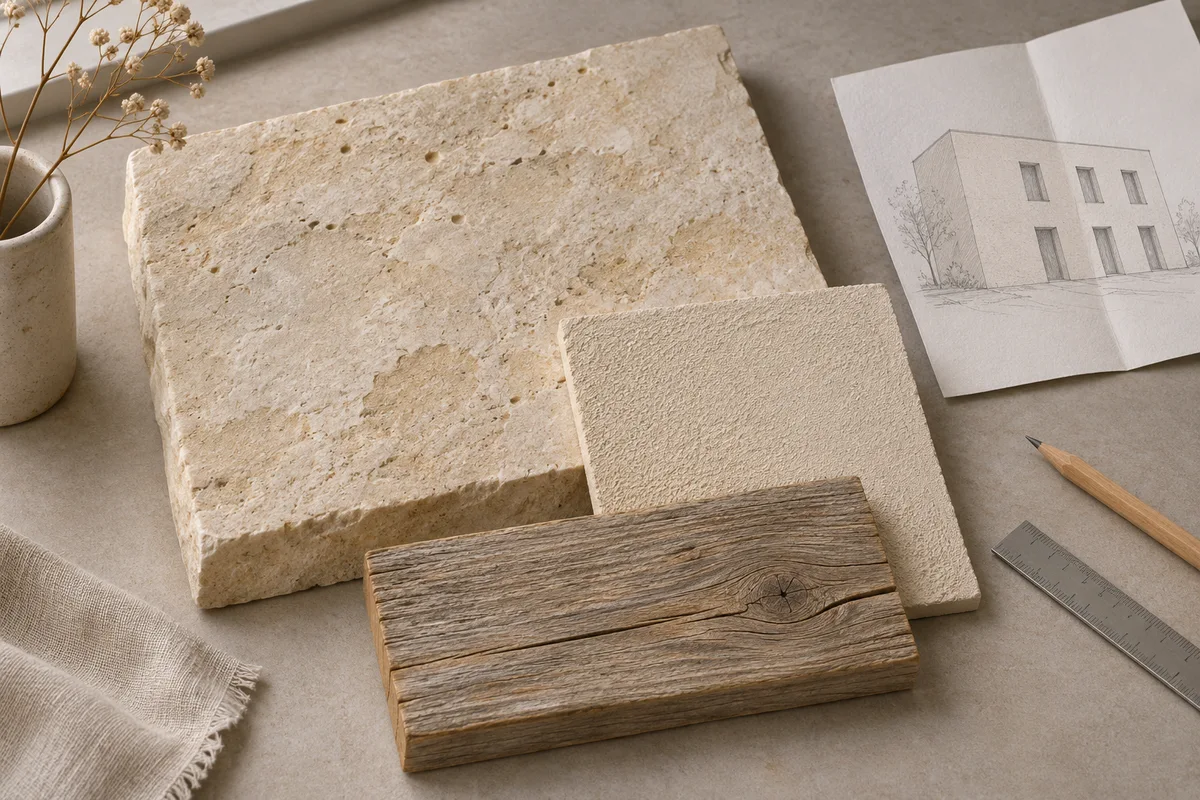
Generated illustration of selecting material references.
Check geometry before choosing a favorite
Place the candidate and original beside each other at the same size. Count the openings. Compare window widths, sill levels, the entrance depth, roof edge and visible building corners. Look for new features or shifted boundaries.
You can also align the two images on separate layers in an editor and toggle the candidate on and off. Start with the roof corner and two window corners. If those points no longer line up together, inspect the overall view before judging the stone texture.
Then check how the material meets the geometry. Courses should change apparent width as the wall recedes. Joints should end sensibly at sills and reveals. Compare the scale of the stone against a window or doorway so the surface reads as the intended cladding.
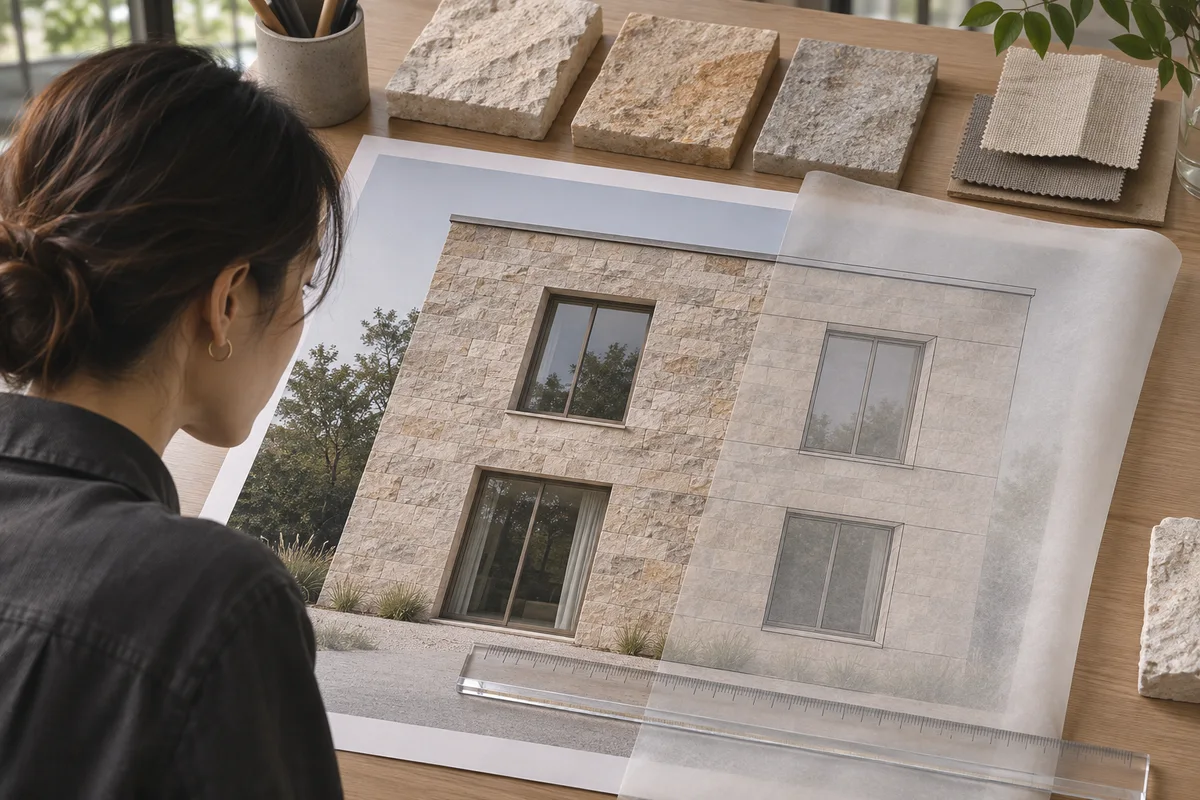
Generated review illustration. These images explain the workflow; this article does not report a Krea3 generation experiment.
Revise the issue you can name
If the building stays consistent but the stone units look too large, retain the geometry instructions and narrow the material request:
Keep the building view and every opening from image 1. Use smaller limestone units with finer, less prominent joints. Keep the wall color pale and warm, and retain the existing frames and sills.
Return to the original source for the next material option. Save each result with its prompt, reference and settings, then review all options under the same crop and displayed size.
Include the selected view and material notes in your presentation. Confirm dimensions, facade build-up, joints and product suitability through the project's drawings and specified samples before developing the chosen option into construction documentation.