

Krea 3 Sketch to Render: Preserve Layout and Define Materials
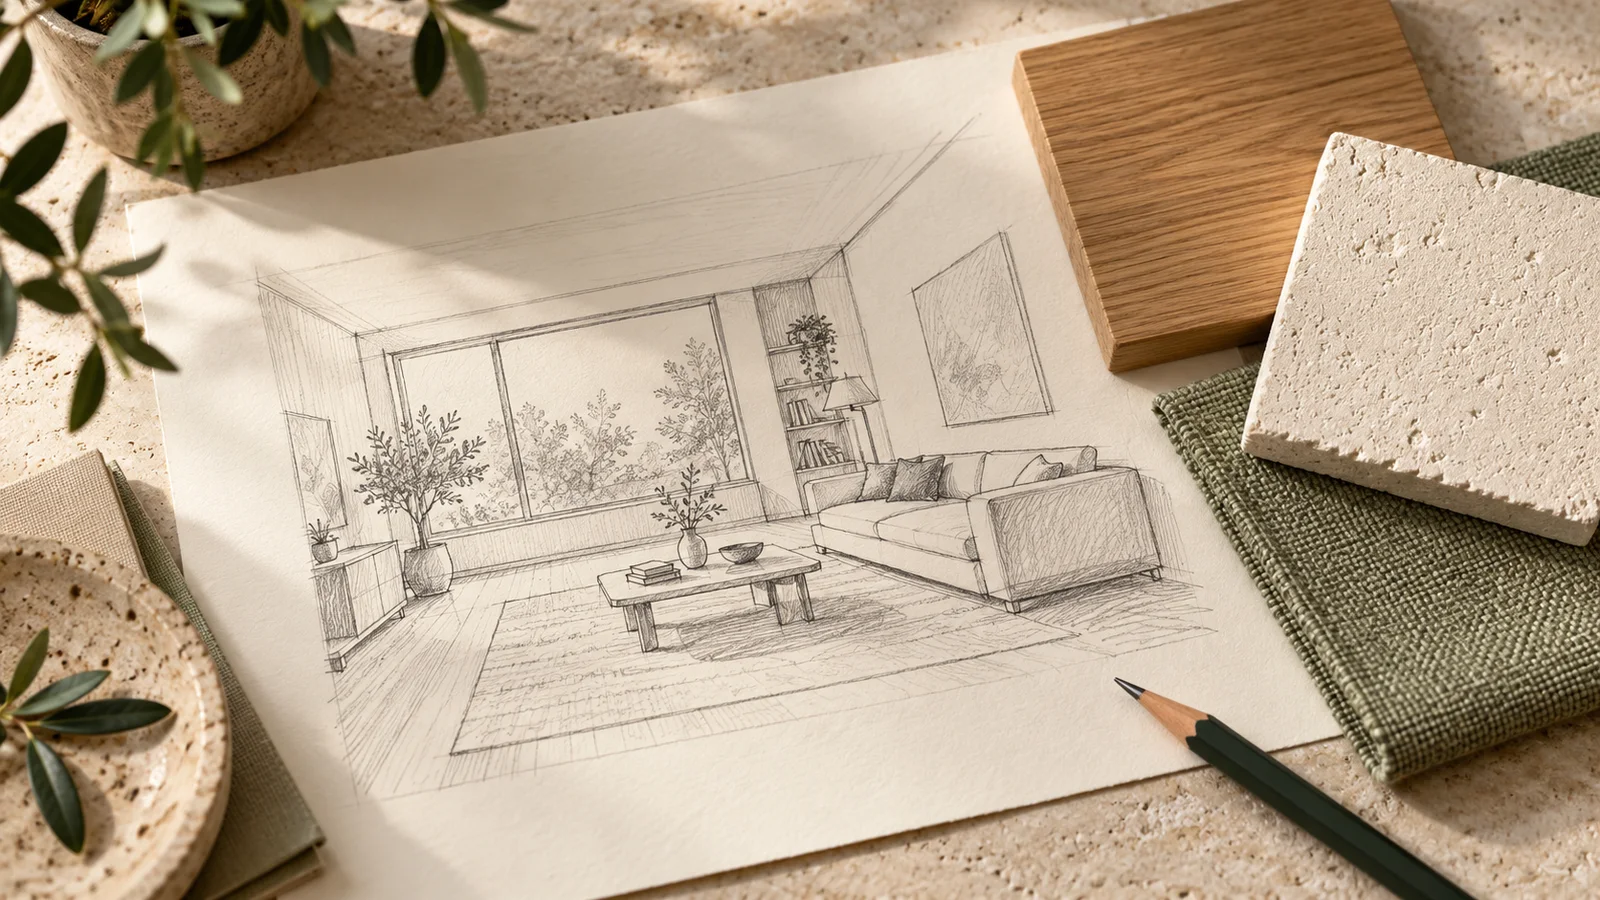
A useful Krea 3 sketch-to-render brief does three jobs: identifies the drawing that controls the layout, assigns materials to specific surfaces, and states which features must survive the edit. Start with one perspective sketch and a short material list. Review the room's structure before spending time refining its atmosphere.
Krea's Krea 3 launch article describes using sketches and moodboards to develop finished images, including architectural concepts directed by material and lighting instructions. That gives designers a starting point for visualization. It does not establish dimensional accuracy or guarantee that every line will be preserved.
This guide develops an original small-living-room brief. You can prepare the same inputs in the Krea2 image workspace, which offers image-reference editing. Select the model and settings actually available there; the workflow below does not assume that different services expose identical models or controls.
Decide what the first render needs to answer
For a first pass, ask one concrete question: Does a sage fabric sofa work with warm oak flooring and off-white walls in this layout?
That is easier to evaluate than asking for a complete interior redesign. A material concept should help you compare finishes while retaining a recognizable room. Furniture procurement, lighting calculations, precise dimensions, and construction details require their own checks.
Choose a single view. If your input is a floor plan, prepare a perspective sketch or a simple 3D view before following this workflow. A plan alone leaves the camera position, furniture heights, and much of the visible geometry unspecified.
Write down three things before uploading:
- Fixed: the window opening, room corners, camera position, sofa location, coffee-table footprint, and rug boundary.
- Changeable: floor finish, wall surface, and sofa upholstery.
- Undecided: small accessories that are not needed to evaluate the materials.
Keep that list beside the sketch. It becomes the acceptance checklist for the result.
Prepare a sketch with fewer ambiguous marks
Use an image where the room edges and furniture silhouettes remain clear at normal viewing size. Crop out the surrounding desk, straightening the page if it was photographed at an angle. Reduce heavy shadows or glare that obscure lines.
Remove alternate furniture outlines and abandoned design options. Two overlapping sofa positions can read as two objects. Keep the drawing you want interpreted rather than a sheet containing every previous idea.
For our example, the sketch contains one window on the left wall, one straight sofa against the back wall, a rectangular coffee table, and one rug. There is no need to draw fine wood grain or fabric weave. Those belong in the material brief.
If a detail is essential but hard to see, describe it explicitly: “a single rectangular window opening on the left wall.” Avoid adding so many new objects in the prompt that the original drawing becomes secondary.
Give the sketch and material board different jobs
Krea's model page describes reference images as guidance for composition, subject, and style. In practice, your brief should make those roles unambiguous.
Treat the sketch as the layout source. An optional material board supplies surface appearance. It should not silently introduce a second room arrangement.
| Input | Job in this brief | Instruction to include |
|---|---|---|
| Perspective sketch | Room layout, furniture position, and camera view | Preserve the visible arrangement and framing |
| Oak sample | Floor color and grain | Apply only to the floor |
| Plaster sample | Wall finish | Use on the walls, keeping openings in place |
| Sage fabric sample | Sofa upholstery | Use the texture and color on the sofa only |
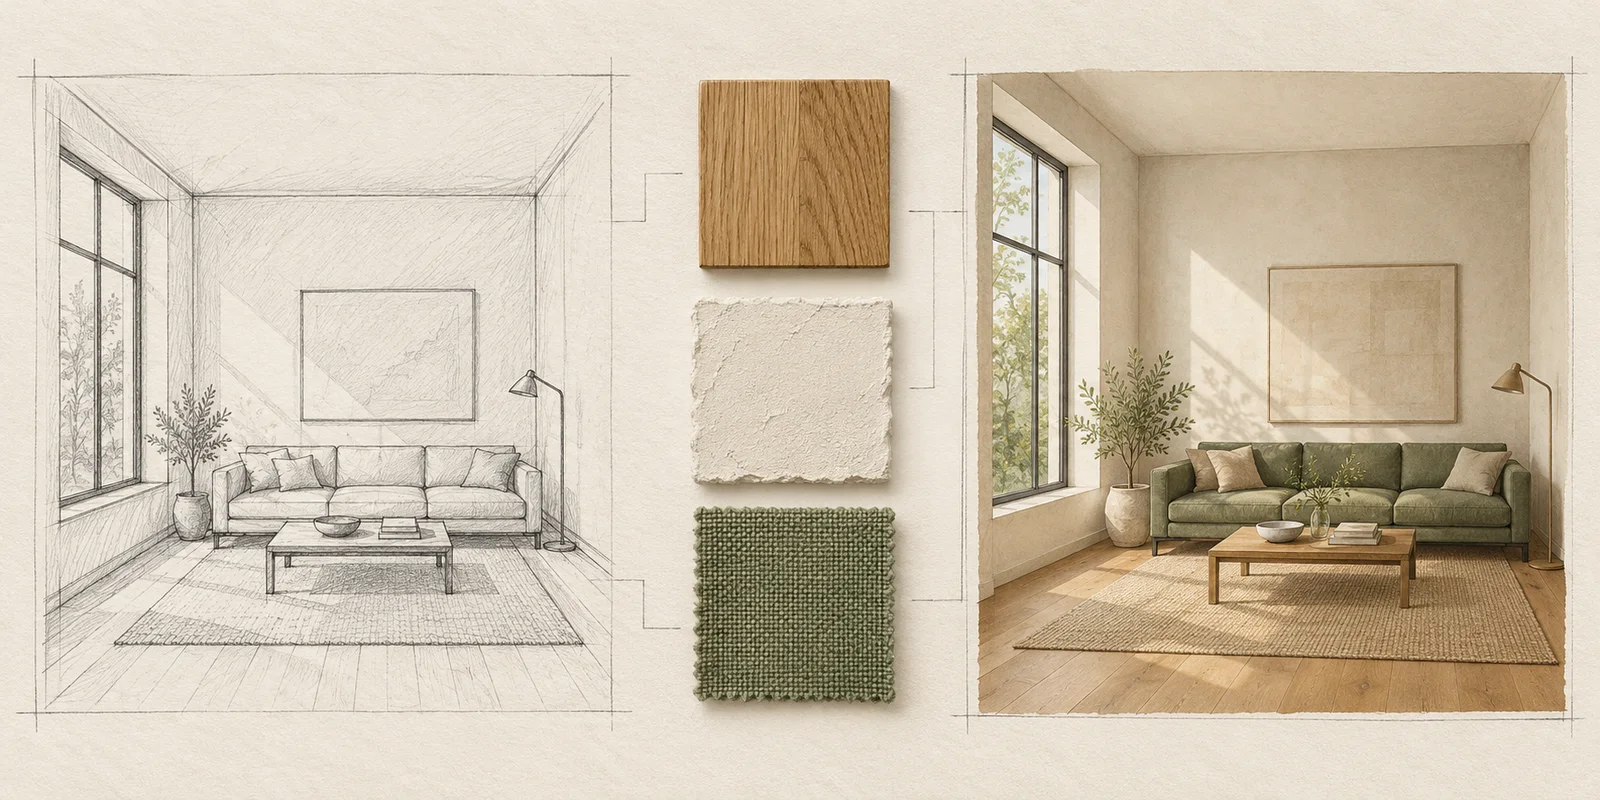
Original AI-generated planning illustration. The panels explain input roles; they are not Krea 3 test outputs or evidence of layout preservation.
A material board can combine cropped samples in one image if that is easier to manage. Avoid a full inspiration-room photo when you only need its fabric: its camera angle and furniture may add competing signals. If you need help putting a sample into words, use the image-to-prompt tool, then edit the description down to the properties you want to transfer.
Write one complete first-pass instruction
Use the following original example as a starting brief. Replace the room features with what is visible in your own drawing. If you upload a board, identify it separately from the sketch in the wording supported by your chosen workspace.
Turn the uploaded perspective sketch into a realistic interior material concept. Use the sketch as the source for room layout and camera position. Keep the single window on the left wall, the straight three-seat sofa against the back wall, the rectangular coffee table, and the rug in their drawn positions. Finish the floor in warm oak with a matte appearance, the walls in off-white plaster, and the sofa in muted sage woven fabric. Show soft daylight entering from the existing left window. Keep the original framing and furniture arrangement. Leave the scene uncluttered so the materials are easy to compare.
The instruction names visible objects rather than relying on “keep everything the same.” It also ties the light to an existing opening instead of requesting a new window.
If you include material references, add:
Use the material board for color and texture only. Do not copy a different room layout from any reference.
For the broader method of separating changes from preservation requirements, see the Krea 3 prompt guide. Here, the important extra step is the room-specific checklist.
Generate a baseline before exploring alternatives
In Krea2, open the image workspace, choose Image-to-Image, add the sketch, and enter your brief. Add the material board only if it clarifies a finish that words cannot describe adequately. Check the selected model, output ratio, resolution, and displayed credits before generating.
For the baseline, choose a ratio close to the sketch's framing. A large shift from a wide drawing to a narrow portrait image makes the composition harder to compare. Begin with one output so you have a clear record of the instruction and result.
Save the original sketch separately. Also save the exact brief and settings used for any promising result. When you compare a second material option, that record helps you keep the intended changes small.
This tutorial does not depend on a seed, a mask brush, regional editing, or an API parameter. Use those only when the service you are using actually provides them and you understand their effect.
Check structure before judging the mood
Look at the sketch and result side by side at the same display size. Make a first pass for layout alone; make a second pass for materials and lighting.
| Check | What to compare | What to do if it changed |
|---|---|---|
| Openings | Number and position of visible windows and doors | Return to the sketch and restate the opening locations |
| Camera | Visible walls, corner lines, and amount of floor shown | Reuse the original framing and simplify camera wording |
| Furniture | Sofa position, table footprint, and rug boundary | Name the displaced object and its intended relationship |
| Surfaces | Which finish appears on each surface | Assign each material to one surface explicitly |
| Light | Whether illumination follows the requested window | Remove conflicting time-of-day or studio-light instructions |
Do not accept a structural change simply because the new room looks attractive. A moved window can invalidate the comparison you intended to make.
If layout is wrong, return to the original sketch. Repeatedly editing an already altered room can carry the mistake into later variations. If layout is acceptable and only a finish needs work, make a narrow revision:
Keep this room layout and camera view. Change only the floor finish to a lighter, less orange oak. Preserve the sofa upholstery, wall finish, window, furniture positions, and daylight direction.
That is a request to review, not a promise of exact preservation. Compare the revised image with the accepted baseline before keeping it.
Compare finishes with a small decision sheet
Once the baseline passes the layout check, plan two alternatives. For example, compare the same sage sofa with light oak and medium oak flooring. Keep the wall finish and light direction unchanged in both briefs.
Record the filename, intended change, and any unintended change. A candidate that offers a better floor color but moves the sofa should be flagged for correction rather than treated as a clean material comparison.
Keep the original drawing, chosen concept, material samples, and approved prompt together for discussion with a client or collaborator. Label the image as a concept visualization. Verify dimensions, product specifications, and practical feasibility separately before using it to guide a real project.
Start with one sketch in the Krea2 image workspace. Define the fixed layout, assign three finishes, and judge the first result against that brief before expanding the design.
Model information and workspace options checked October 30, 2026. The room brief, prompts, and review method are original editorial examples; no comparative model test was performed.