

Krea 3 Prompt Guide: What to Change and What to Keep
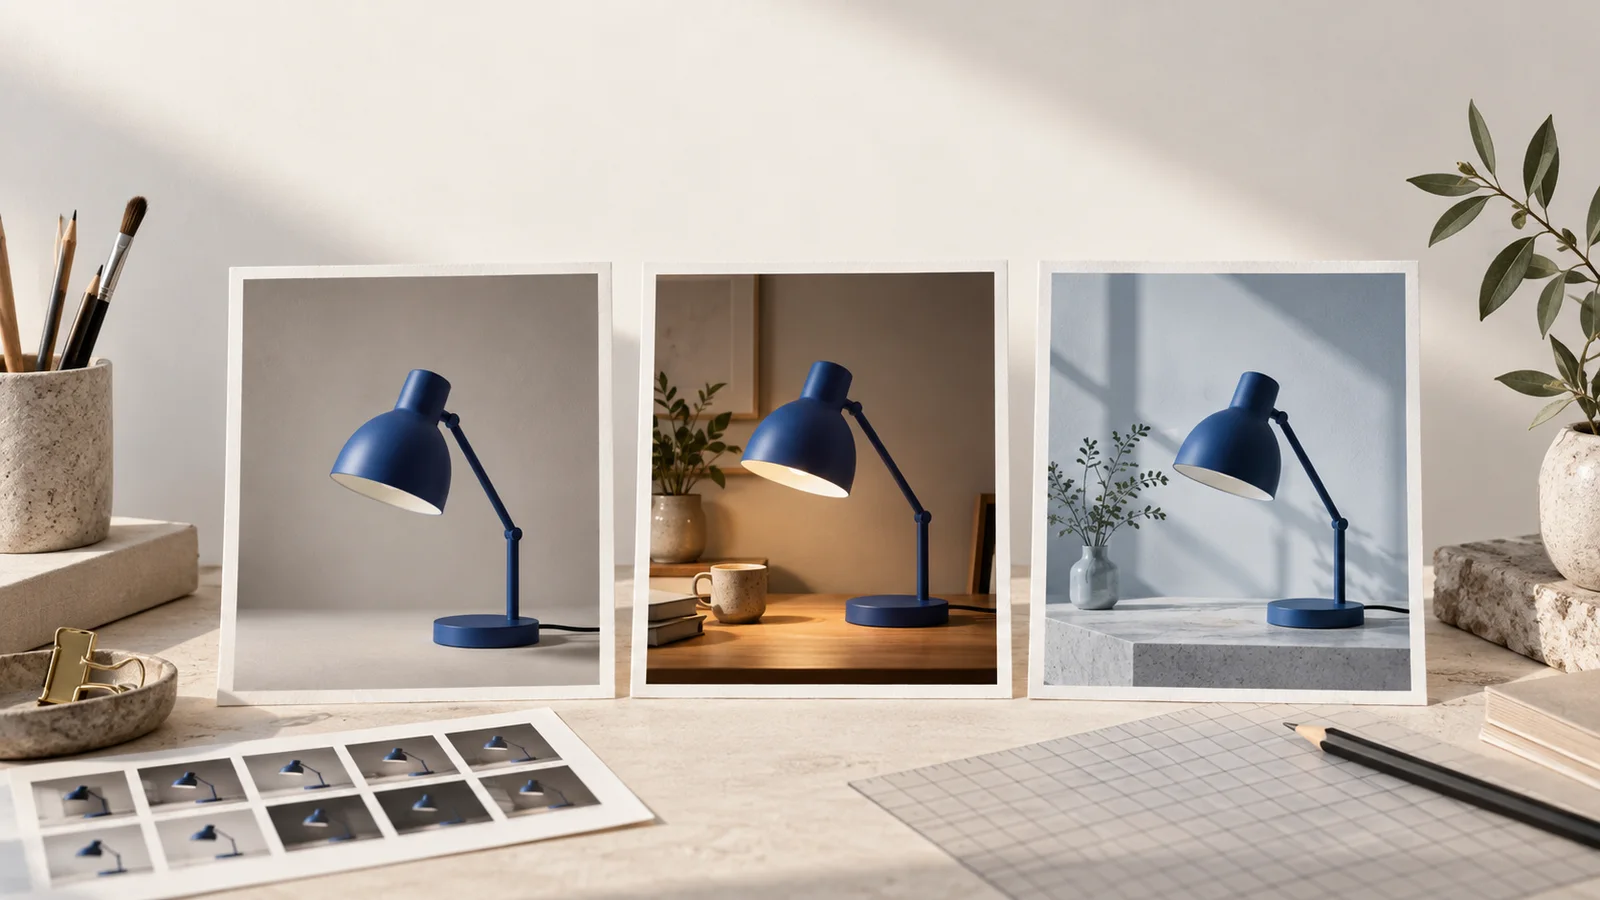
A useful Krea 3 editing prompt gives the reference image a job, names the details that matter, and describes a specific change. Start with the source you want to edit rather than a long list of style words. You can open the image workspace, choose Krea3 and Image-to-Image, then try one instruction with one reference before adding more.
This guide uses a green canvas bag as a running example. The aim is a new campaign setting with enough empty space for a headline, while keeping the bag recognizable. The prompts below are original starting points to adapt to your own files, not a record of tested model results.
Separate the source from the request
Before writing a prompt, make two short lists: what the reference establishes and what the next image needs. A product photograph establishes shape, seams, hardware, and color. It does not necessarily establish the final background or camera framing.
| Part of the brief | Bag example | Why it belongs in the prompt |
|---|---|---|
| Source | The bag in the first uploaded image | Identifies the object to use |
| Preserve | Canvas color, flap outline, buckle, strap attachment | Names the details you will inspect |
| Change | Place it on a bench in a quiet waiting room | Defines the new scene |
| Composition | Complete bag on the right; empty upper-left area | Makes the image useful for the layout |
| Light | Soft daylight from the left | Gives the scene one clear lighting direction |
If describing the source is difficult, Image to Prompt can help draft a description. Remove guessed materials, invented brand names, and details that are irrelevant to this edit. An image description is useful preparation; it is not automatically an editing instruction.
Turn a vague prompt into a specific brief
“Make this bag look premium” leaves the environment, materials, lighting, and even the bag itself open to interpretation. Replace the adjective with visible choices:
Use the bag in image 1 as the product source. Preserve its green canvas, flap outline, brass buckle, seams, and strap attachments. Place it on a pale oak bench in a quiet railway waiting room. Show the complete bag on the right side of a landscape frame, with clear space in the upper left for a headline. Use soft daylight from the left. Add no lettering.
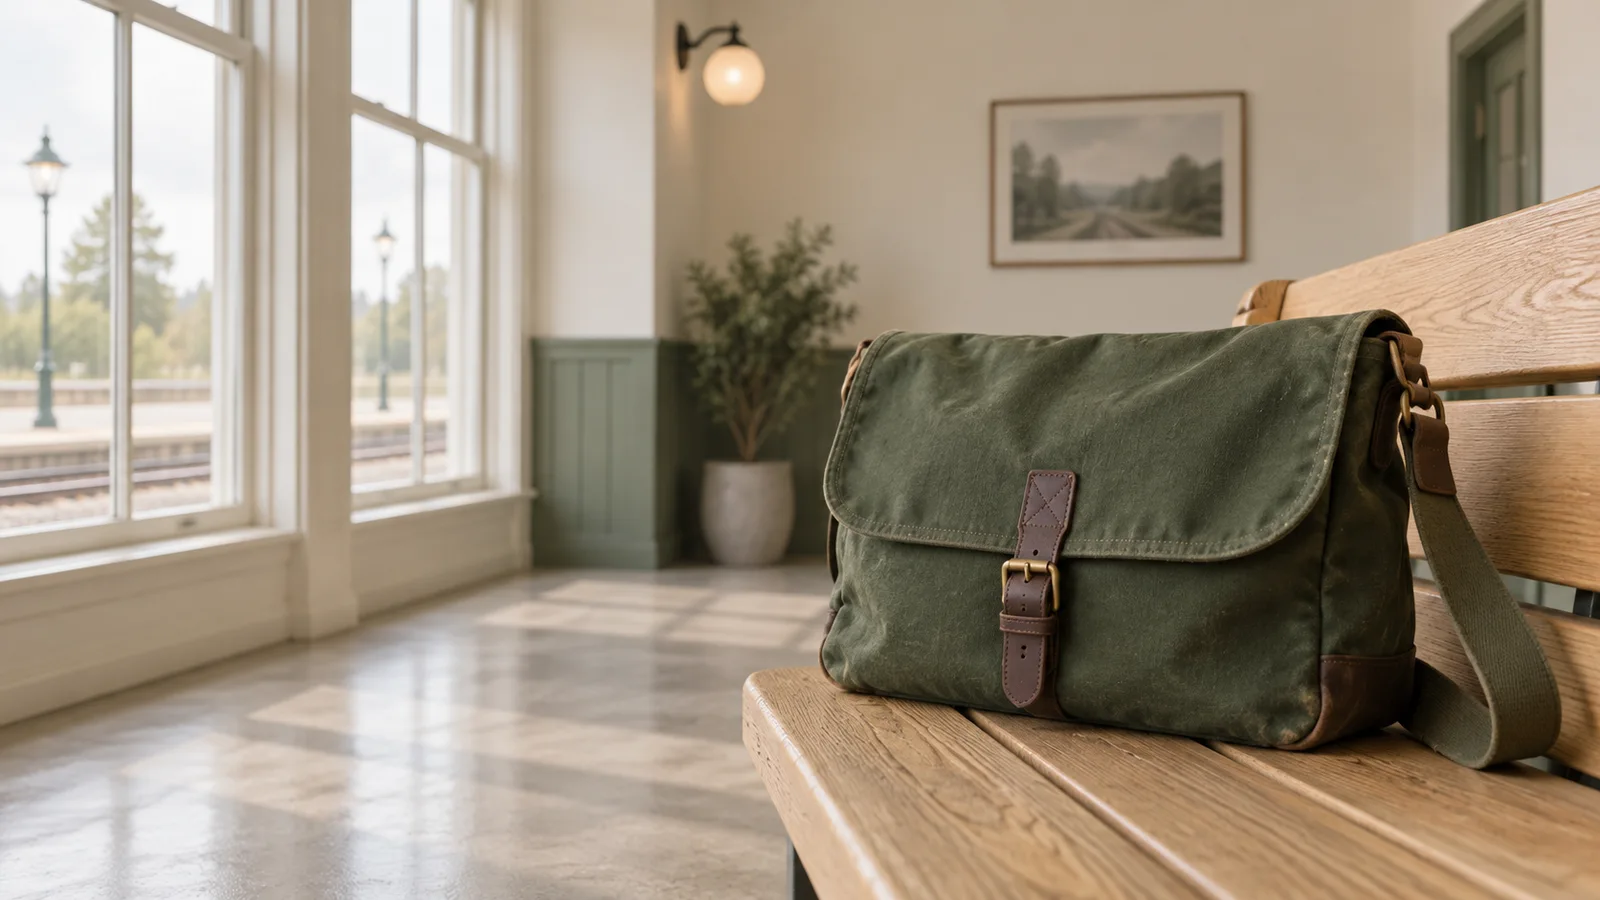
Concept illustration of the intended brief, not a Krea 3 test output.
Each sentence has a purpose. The first selects the source. The second establishes the inspection checklist. The remaining sentences describe the change and how the image will be used. If your source has a zip instead of a buckle, change the instruction; do not ask the model to preserve a feature that is absent.
Give every additional reference one role
Add a second image only when it supplies information the first one cannot. A close-up may clarify a fastener; a room photograph may explain the setting. Those are different jobs.
For a bag source and a room reference, add:
Image 1 defines the bag. Use image 2 only for the room layout and window-light direction. Do not copy objects from image 2 onto the bag.
Keep the upload order aligned with your image numbers. If you remove an image, update the prompt before submitting it again. Numbered descriptions are a way to clarify your instruction, not a universal promise that every interface supports the same special tag syntax.
Do not collect references simply to fill the upload allowance. Two photographs showing different bag designs create a choice you may not intend to delegate. Prefer a small set whose roles you can explain in one sentence each.
Resolve contradictions before generating
Some requests cannot be satisfied together. “Keep the framing exactly” conflicts with “show the entire bag” when the source is cropped. “Preserve the original lighting” conflicts with moving the subject into a strongly backlit scene.
| Conflicting request | Clearer revision |
|---|---|
| Keep the crop; reveal the whole strap | Preserve the bag design, but widen the framing to include the strap |
| Make it minimal and fill the scene with props | Keep only the bench and bag; remove decorative props |
| Change the canvas to leather; preserve its material | Choose whether the material or the original appearance takes priority |
| Keep the room unchanged; move the window | Preserve the room layout and change only the light intensity |
A longer prompt does not resolve a contradiction. Decide which constraint matters most and remove the competing instruction.
Review one attempt before rewriting everything
For the first attempt, choose one output and use the settings available in your workspace. Compare the result with the source before judging whether the scene is attractive. Check the outline, buckle, seam placement, and strap attachments, then check the light and empty space.
If the product is wrong, return to the source and clarify the affected detail. If the product is acceptable but the background is busy, retain the product instruction and simplify the setting. Avoid changing several instructions at once: it makes the next result harder to interpret.
Save the source, prompt, settings, and accepted result together. For a second version, write down the single intended difference. That small record helps you tell a deliberate variation from an accidental change.
Do you need a negative prompt?
A separate negative-prompt control depends on the service or interface you use. This workflow does not require one. Put essential constraints in the main instruction, using concrete details rather than a generic list of defects.
“Leave the upper-left wall empty” is more useful for this layout than “bad composition.” “Keep the original buckle shape” gives you something specific to verify. Neither wording guarantees compliance, so review the downloaded image at the size needed for delivery.
When your brief is ready, open the image workspace and try the smallest edit that answers your next question.