

Consistent Characters with Krea 3: A Reference-Image Workflow
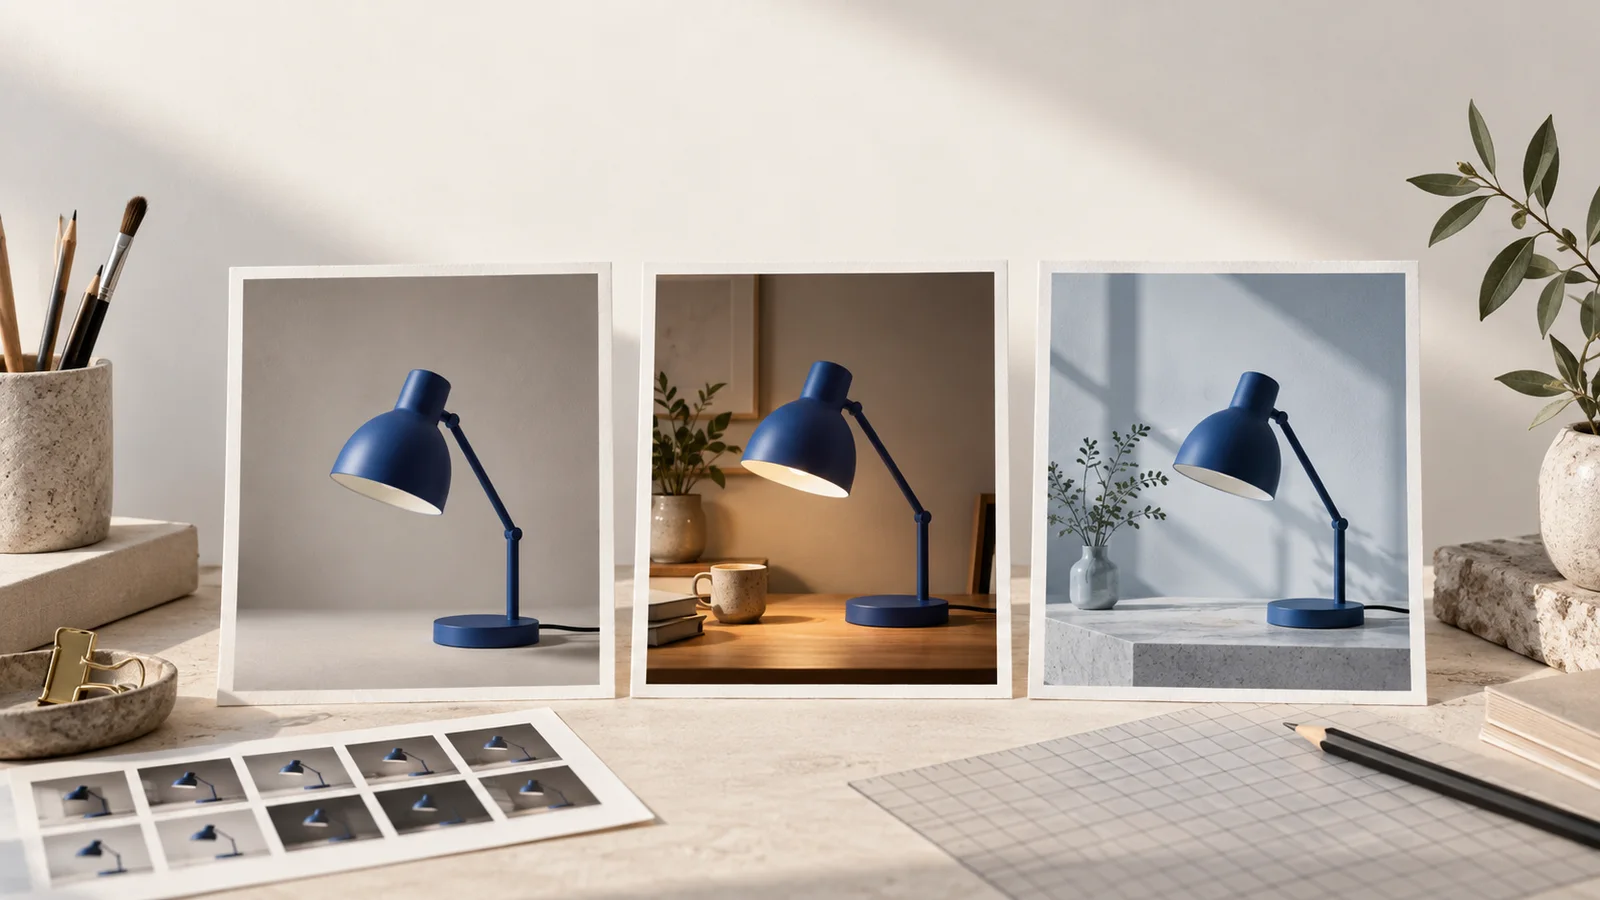
For consistent characters with Krea 3, begin with an approved character reference and keep it available for every new scene. Describe the change in pose, setting, or framing, then name the identity details you will check. A similar hairstyle alone is not enough to make three images read as the same person.
If you are choosing where to begin, you can explore krea3. The workflow below is a reference-planning and review method: adapt the controls to the editor you use. It does not depend on a particular seed setting or promise identical faces in every output.
Our example is a fictional adult character with a short curly bob, round amber glasses, and a rust-orange jacket. The deliverable is a three-image editorial sequence: a portrait, a bookshop scene, and a wider seaside shot.
Build a small reference pack
Choose a clear image in which the face and distinguishing features are easy to see. Avoid making a heavily obscured face your only identity reference. If the first image is a portrait, add a full-length reference when the clothing and body silhouette matter to the series.
| Reference | What it establishes | What to avoid |
|---|---|---|
| Approved portrait | Facial proportions, hair, glasses, visible distinguishing details | A face hidden by strong shadow or accessories |
| Outfit view | Jacket cut, layers, colors, footwear when visible | A different outfit presented as another identity source |
| Optional scene image | Setting or spatial arrangement | Allowing an unrelated person in the scene to become the subject |
Write a short identity note from what you can actually see. For this example: short dark curls, round amber frames, rust jacket, ivory shirt. Treat this as an inspection aid. Do not assume that repeating these words recreates a particular face without a useful visual reference.
Plan the sequence before changing the camera
Make the first scene easy to compare with the portrait. Save the most demanding angle for later, after you know which details survive an ordinary scene change.
| Shot | Intended change | Details to check |
|---|---|---|
| Portrait | Establish the reference appearance | Face proportions, hairline, glasses shape |
| Bookshop medium shot | New setting; more of the outfit visible | Same identity, jacket cut, shirt neckline |
| Seaside wide shot | Wider framing and a different environment | Overall silhouette, outfit, accessories |
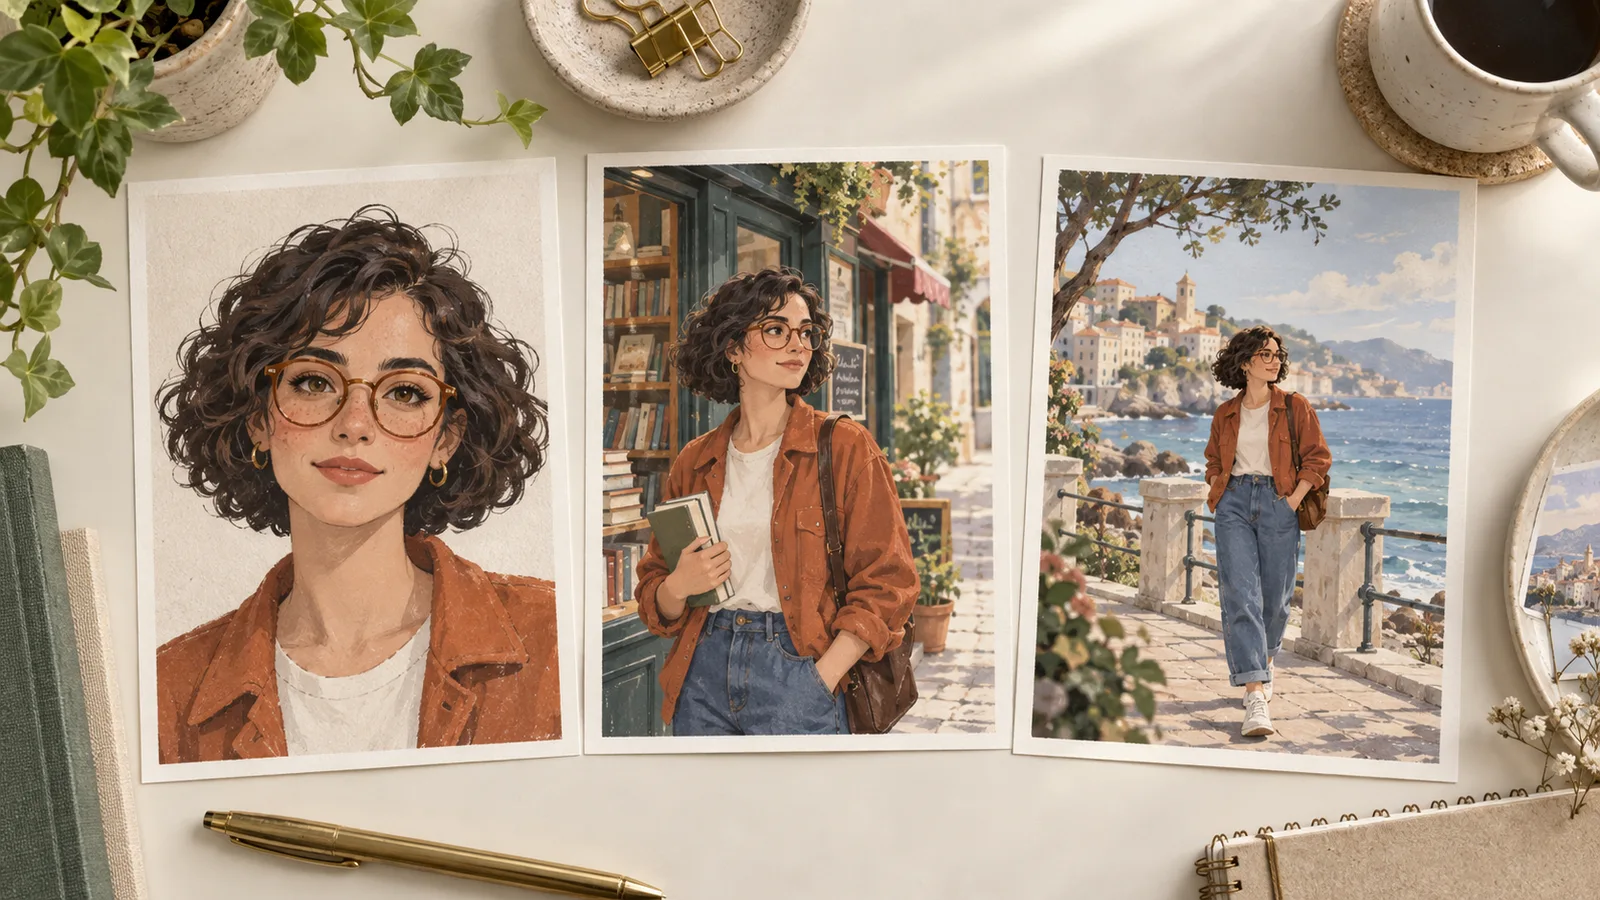
Original concept cards for planning a sequence; not Krea 3 outputs or a consistency benchmark.
A wide shot can hide facial drift because the face occupies fewer pixels. Judge it both as a complete composition and at a closer view. Conversely, a close-up reveals facial changes but tells you little about the lower half of the outfit.
Write the first scene instruction
With the portrait uploaded first and the outfit reference second, try an instruction like this:
Use the adult character in image 1 as the identity reference. Preserve her facial proportions, short dark curls, and round amber glasses. Use image 2 for the rust jacket and ivory shirt. Show her standing beside a quiet bookshop window in a medium shot, looking slightly toward the camera. Keep the same softly painted illustration style. Use gentle daylight. Add no new accessories.
Remove the sentence about image 2 if you have not attached it. If the source is photographic, replace the illustration instruction with the medium you actually need. Instructions should describe your files, not force them into the example's appearance.
Start with one result. Check identity and clothing before deciding whether the background is usable. If the scene is good but the glasses or facial structure have changed, treat that as a failed identity match rather than accepting it because the picture is attractive.
Decide which references the next shot needs
An accepted scene can help communicate the established outfit and visual treatment. The original portrait remains useful when the next shot needs a clear face reference. Assign those two images different roles:
Image 1 is the approved bookshop scene; use it for the outfit and illustration treatment. Image 2 is the original portrait; use it for the character's identity. Place the character on a quiet seaside promenade in a wide shot. Preserve the jacket, glasses, and hair. Change the location and framing only.
Do not add a rejected output to the reference pack simply because it is the latest file. It may introduce the very discrepancy you are trying to remove. If later versions drift, return to the original portrait and the last accepted outfit reference, then simplify the next scene.
Review the set together
Compare all three images at once, then inspect individual details. Ask whether the facial proportions, hairline, glasses, and clothing agree where they are visible. Also check whether the medium and color treatment make the images feel like one series.
| Symptom | Next step |
|---|---|
| Same hair, different face | Use the clearest portrait and reduce changes to angle or expression |
| Jacket details keep changing | Add an unambiguous outfit reference and remove conflicting clothing descriptions |
| Scene reference introduces another person | Remove that reference or describe the setting in words |
| Later shots drift progressively | Restart from approved sources rather than the latest output |
These are practical checks to try, not guaranteed fixes. A series that needs exact identity may still require manual selection and finishing. Keep rejected versions separate so they do not accidentally become future references.
Save a reusable character brief
Store the approved portrait, outfit reference, identity note, scene prompts, and accepted outputs in one folder. Name files by their role rather than only by generation date. For a future scene, you should be able to identify the identity source without opening every image.
If the instruction itself is getting unwieldy, use the Krea 3 prompt guide to separate the change from the preservation constraints. When ready to try a new scene, open the image workspace with the smallest reference pack that explains the task.