

Krea 3 Garment Material Editing: Change the Fabric, Keep the Design
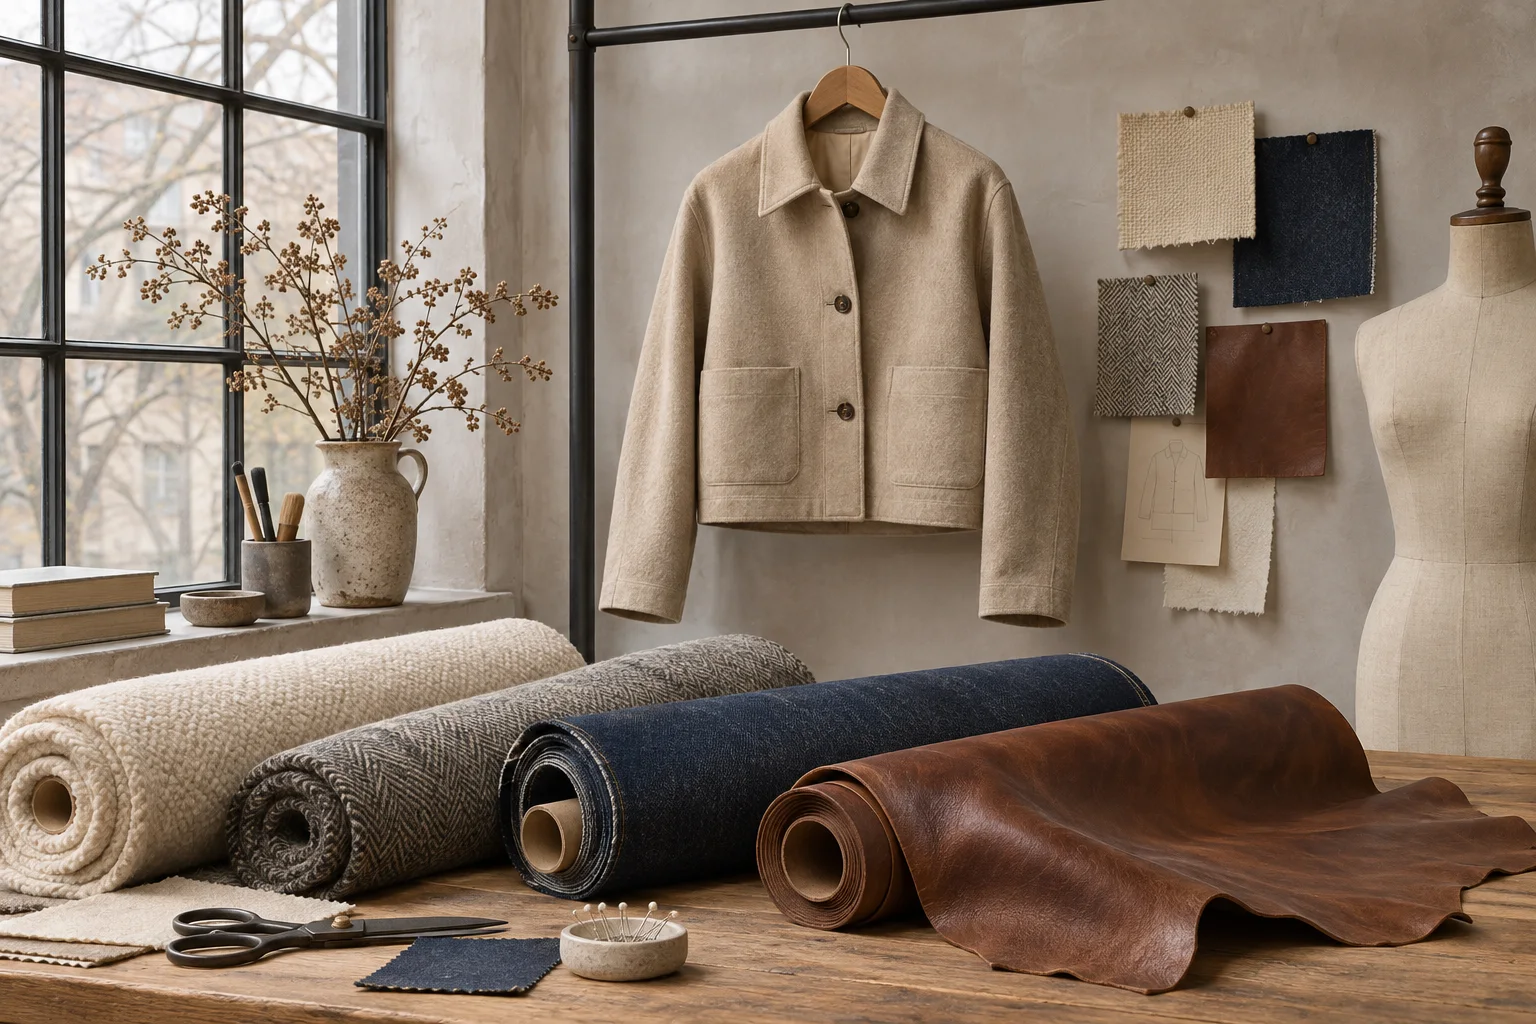
A jacket can turn brown and still look like wool. For Krea 3 garment material editing, the useful instruction is more specific than a color change: describe the new surface, decide how much the fabric may reshape the folds, and name the construction details that must survive.
This guide develops a short-jacket concept from a garment photograph and a material reference. You can prepare the edit in the Krea2 image workspace, selecting Image-to-Image and reviewing the current model and settings. The aim is a visual design discussion, not a sewing specification or proof of a finished product.
Krea's Krea 3 introduction describes material changes and preserving details outside the requested edit. The workflow below extends that capability into a garment-specific brief. Its prompts and inspection rules are original examples; no Krea output or material-accuracy test is presented here.
Decide whether you want a recolor or a new material
A recolor keeps the existing material cues. A material change can affect texture, sheen, edge thickness and the way folds appear. Asking for leather while preserving every wool fold can produce a contradictory brief.
Choose the question your concept must answer. Is this the same jacket in another color, or the same design interpreted in a different fabric? If it is only a palette decision, use the product recoloring workflow. Keep the material experiment separate from a new pose or background.
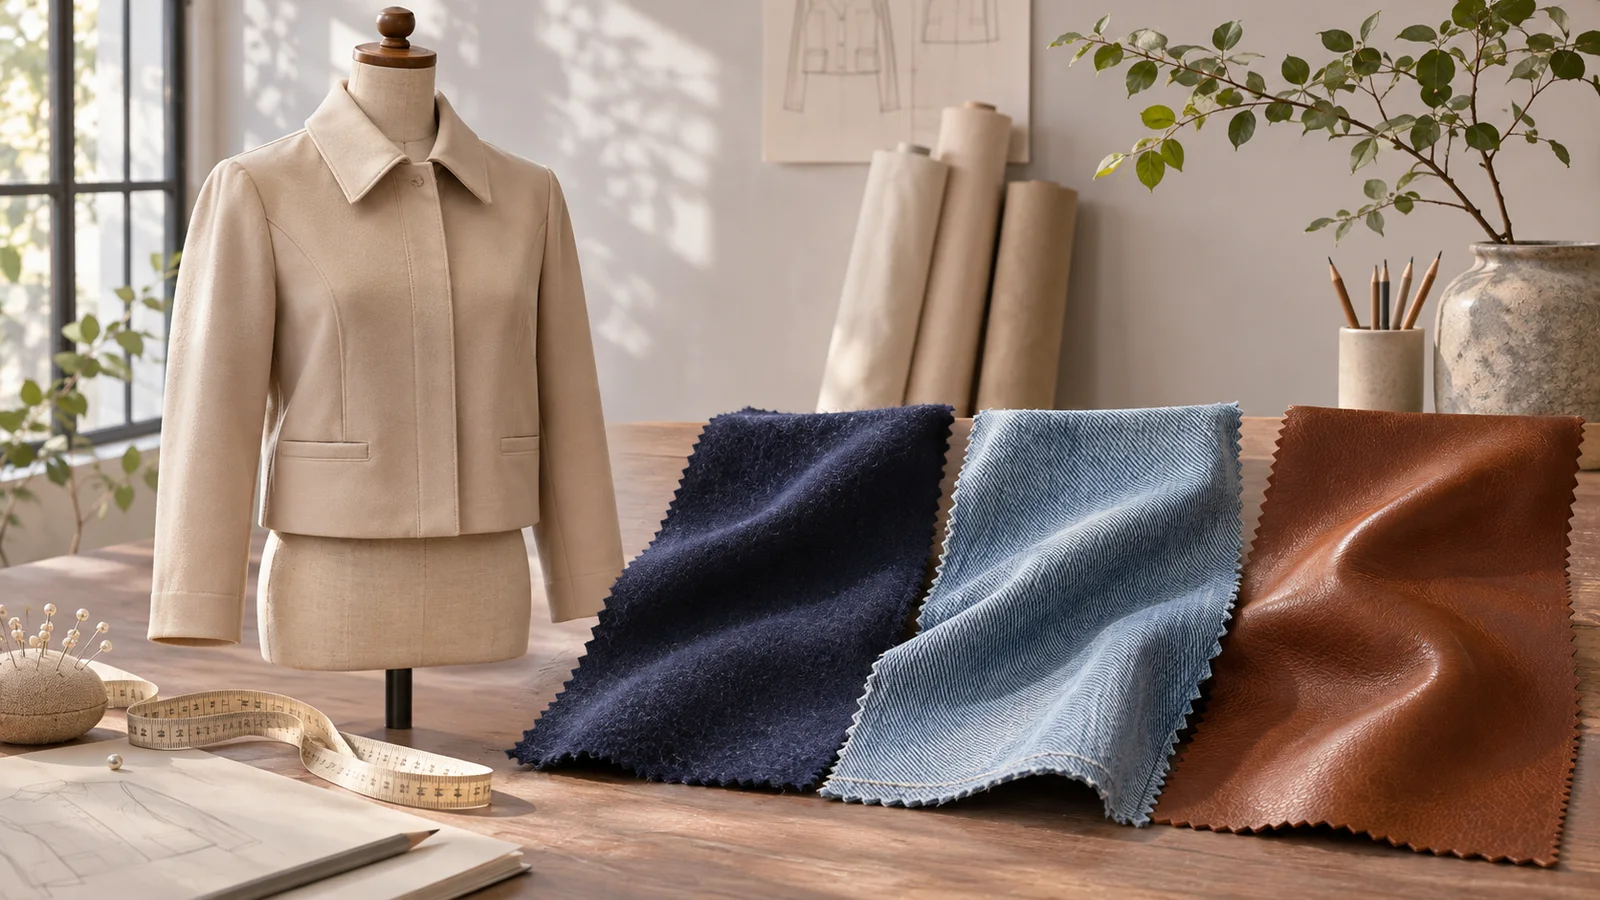
AI-generated planning illustration. The swatches explain different material directions; they are not physical samples or Krea test outputs.
For our example, the design is a short collared jacket with a central button closure and two front pockets. The proposed material is warm brown leather with a restrained sheen. The collar, pocket positions, button arrangement and overall length define the design. Small folds may adapt to the proposed material.
Prepare references that answer separate questions
Use a source photograph that shows the whole jacket with readable seams and edges. An unobstructed flat lay or dress-form photograph makes construction easier to inspect than a distant fashion image. If a sleeve is hidden, the result cannot be checked against information you never supplied.
A material photograph should show texture and a little variation in light. A tiny dark crop may communicate a color but say little about the surface. Avoid including another complete garment unless you intend its design to influence the result.
Give the references distinct roles:
| Reference | Its job | What it should not supply |
|---|---|---|
| Original jacket | Design, framing, pockets and closure | The final material appearance |
| Leather swatch | Grain, broad color direction and sheen | A new collar, silhouette or pocket layout |
| Optional detail crop | Clarify a hard-to-see seam or fastening | A second competing garment design |
Use only the references needed to explain this edit. Keep their numbering consistent with the upload order. Do not treat an upload allowance as a target to fill.
Write the design constraints before the surface description
Count the visible buttons in your own source. Locate the pocket openings, hem and cuff construction. These details give you an inspection checklist; a generic instruction to keep everything is harder to evaluate.
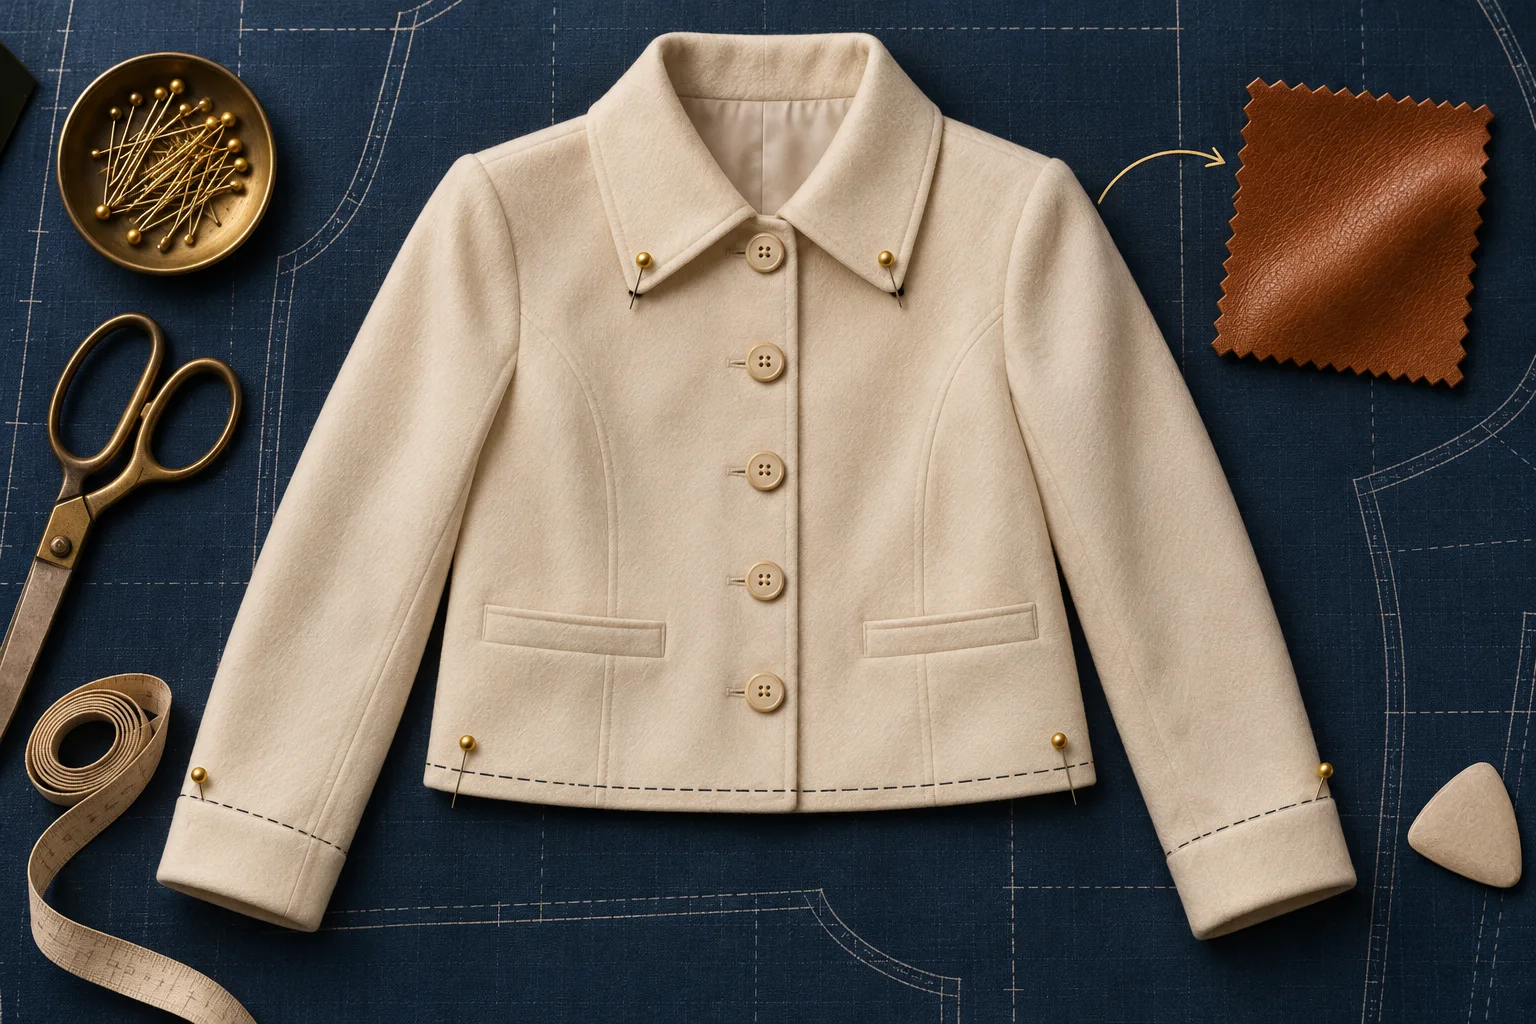
AI-generated construction-planning illustration, not a pattern or an edited source image. Inspect the actual details of your own garment.
Try this original starting prompt, adapting every construction detail to the uploaded jacket:
Use image 1 as the jacket design and composition source. Preserve its short length, collar outline, front closure, existing button count, pocket positions and sleeve proportions. Change only the jacket's main outer fabric to warm brown leather, using image 2 for fine grain and a soft, restrained sheen. Allow modest changes to small folds so the new surface looks plausible, while retaining the overall silhouette. Keep the background, camera position and dress form unchanged. Do not add quilting, zippers, decorative seams or lettering.
The sentence about folds is a deliberate choice. For a strict overlay concept, you might instead request the original folds and accept that the image says less about real drape. For construction development, generated folds cannot establish how a chosen leather will behave; a physical sample remains necessary.
In the workspace, upload the source and material reference, choose a ratio close to the original frame, and check resolution and the displayed credit requirement before generating. Start with one output. This workflow assumes no mask, seed or fabric-simulation control. For reference roles and conflicting instructions, the Krea 3 prompt guide provides additional examples.
Inspect construction before deciding whether the material looks good
Compare the source and result at the same size. First trace the collar, shoulders, hem and sleeve ends. Then count fasteners and inspect the pocket openings. Reject a persuasive leather texture if it has quietly redesigned the jacket.
Next inspect the surface at both close and normal viewing sizes. Does the grain follow the garment rather than appear pasted across it? Are highlights consistent with the scene? Have cuffs, pocket edges and seams acquired unreasonable thickness? Check any hands, hair or accessories near the jacket for accidental changes.
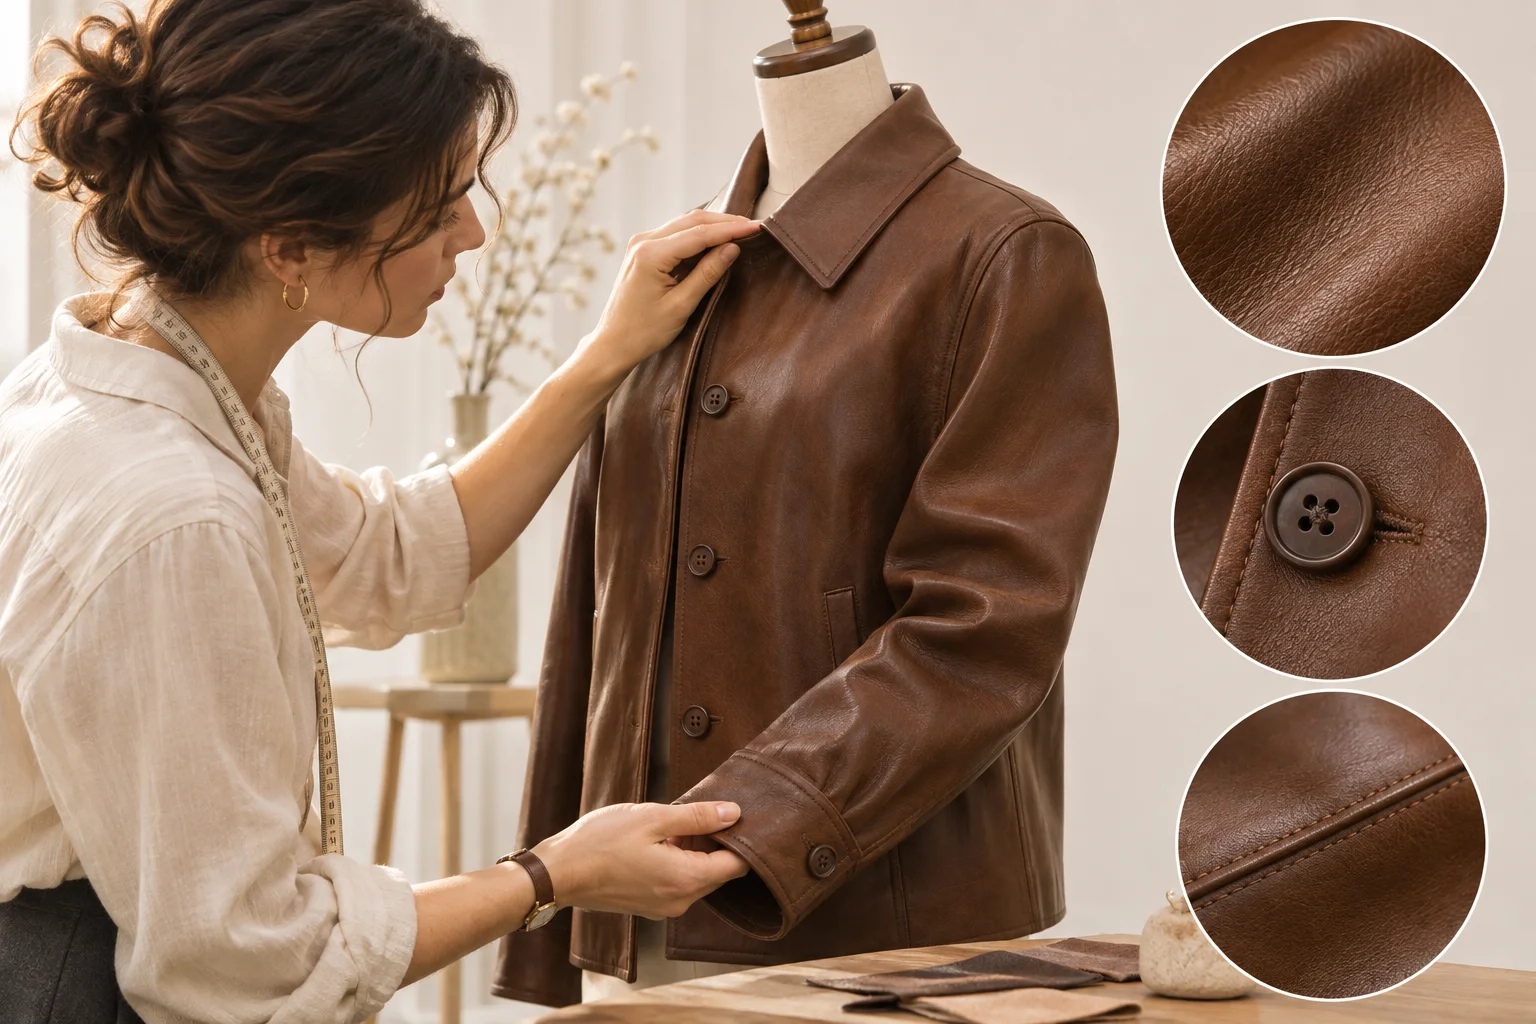
AI-generated inspection illustration. The detail circles show review areas, not measured quality or evidence of a successful Krea edit.
Separate problems into three groups. A missing button is a design failure. A plastic-looking highlight is a surface problem. An unrealistic sleeve fold is a drape question. Fixing one does not establish that the others are acceptable.
For a surface-only revision, return to the original references with a narrower request:
Keep the original jacket construction and framing. Use finer leather grain and softer highlights on the main outer fabric. Preserve the original buttons and pocket openings; do not change their positions or replace them with zippers.
If the silhouette keeps drifting, simplify the material description and use a clearer source. Do not stack several edited results and assume the last one still matches the original. Keep a source, prompt, settings and review note for each branch.
Label the concept before sharing it
Save the accepted image with a note such as “brown leather direction; collar and closure checked; physical drape unverified.” Compare variants from the same original photograph so an accumulated design change does not masquerade as a material preference.
A generated material preview cannot establish thickness, stretch, breathability, durability, manufacturing feasibility or exact color. For an actual product listing, use imagery and approval appropriate to the product being sold. For a design meeting, make the conceptual status visible and use the image to decide which physical samples or prototypes to investigate next.
Start with one jacket and one material reference. Keep the design checklist short, explain the intended surface, and review the construction before approving the look.
Sources and workspace options checked November 10, 2026. Illustrations are editorial concepts, and no model-performance benchmark was conducted.