

Krea 3 Jacket Replacement: Keep the Face, Pose and Hands
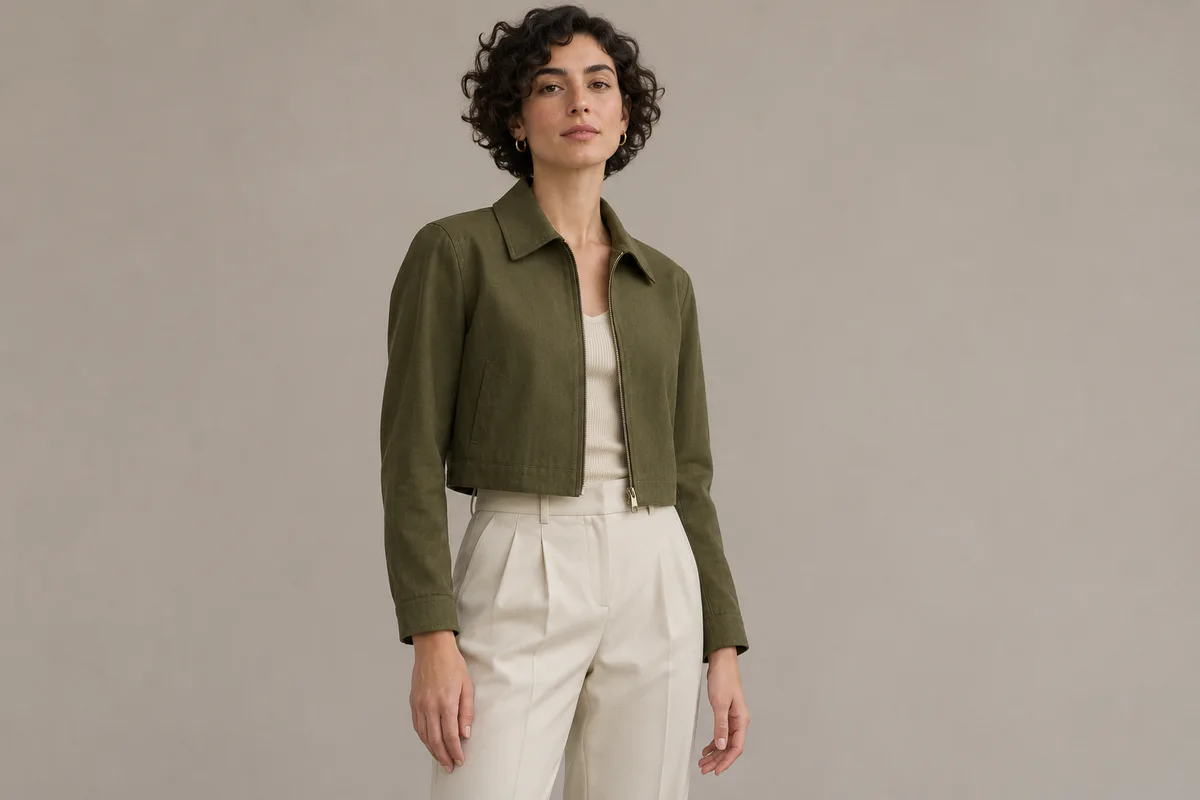
For a Krea 3 jacket replacement, give the portrait and the new garment separate jobs. Use the portrait to define the person, pose and scene. Use a clear garment image to describe the jacket's cut, then check how the result meets the neck, wrists and waist.
You can prepare this edit in the Krea2 image workspace with Krea3 selected in Image-to-Image mode. Krea's launch article describes working with face and outfit references while keeping characters consistent. The method below helps you plan and review one wardrobe concept.
Pick a portrait with visible garment boundaries
Choose an image you have permission to edit, and keep an untouched copy. Look for a view where the collar, shoulders, sleeve ends and waist are easy to see. Hands held away from the torso make the first edit easier to inspect.
Our example replaces a navy jacket with a cropped olive jacket. The person keeps the same face, short curls, stance, cream shirt and trousers. The background and lighting also stay in the brief.
If hair covers the collar or a bag hides the waist, the result will need closer review in those areas. A clearer source can give you a more useful starting point.
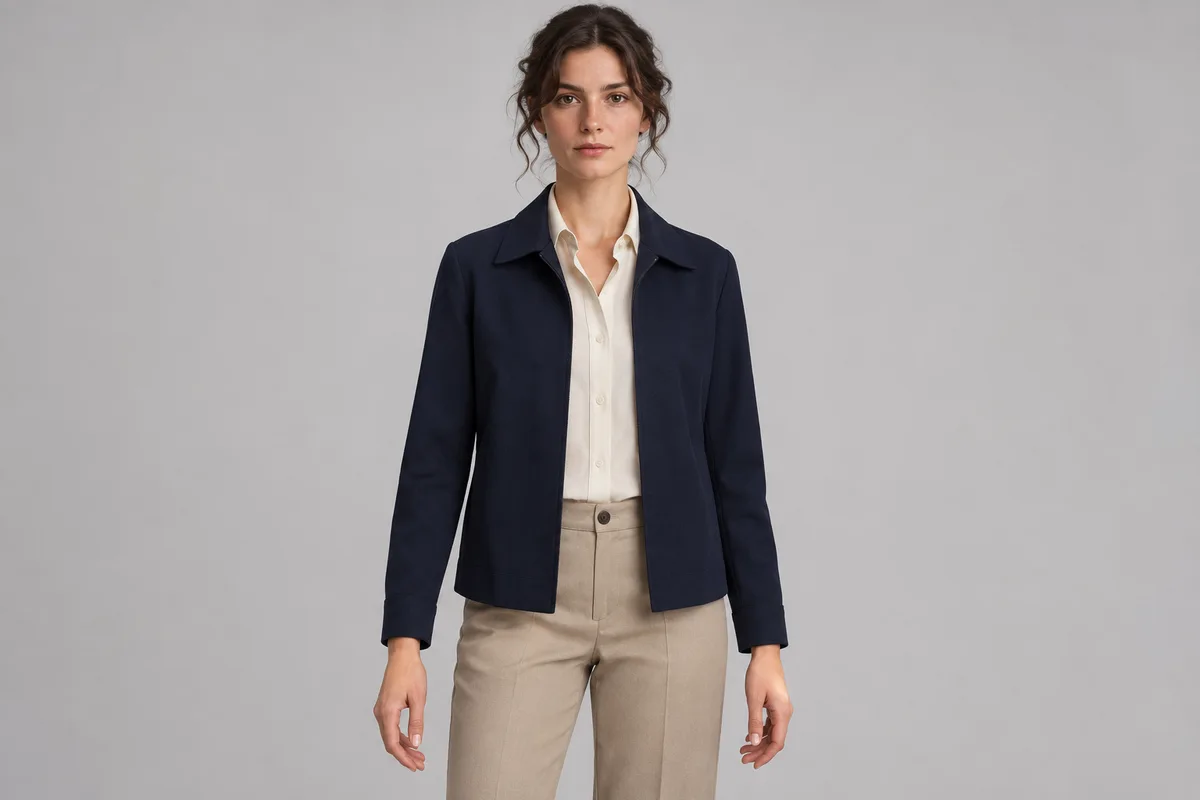
Generated source-pose illustration for this fictional wardrobe concept.
Show the jacket's construction
Choose a garment reference that clearly shows the front, collar, closure and cuffs. A flat lay or simple product photograph can explain the cut without adding another person's face and pose.
Write down the details you need to recognize afterward. For the olive jacket, these might include a short straight hem, a simple collar and long sleeves with plain cuffs. State whether it should be open or closed. If you only want a new fabric on the existing jacket, use the narrower garment material editing workflow.
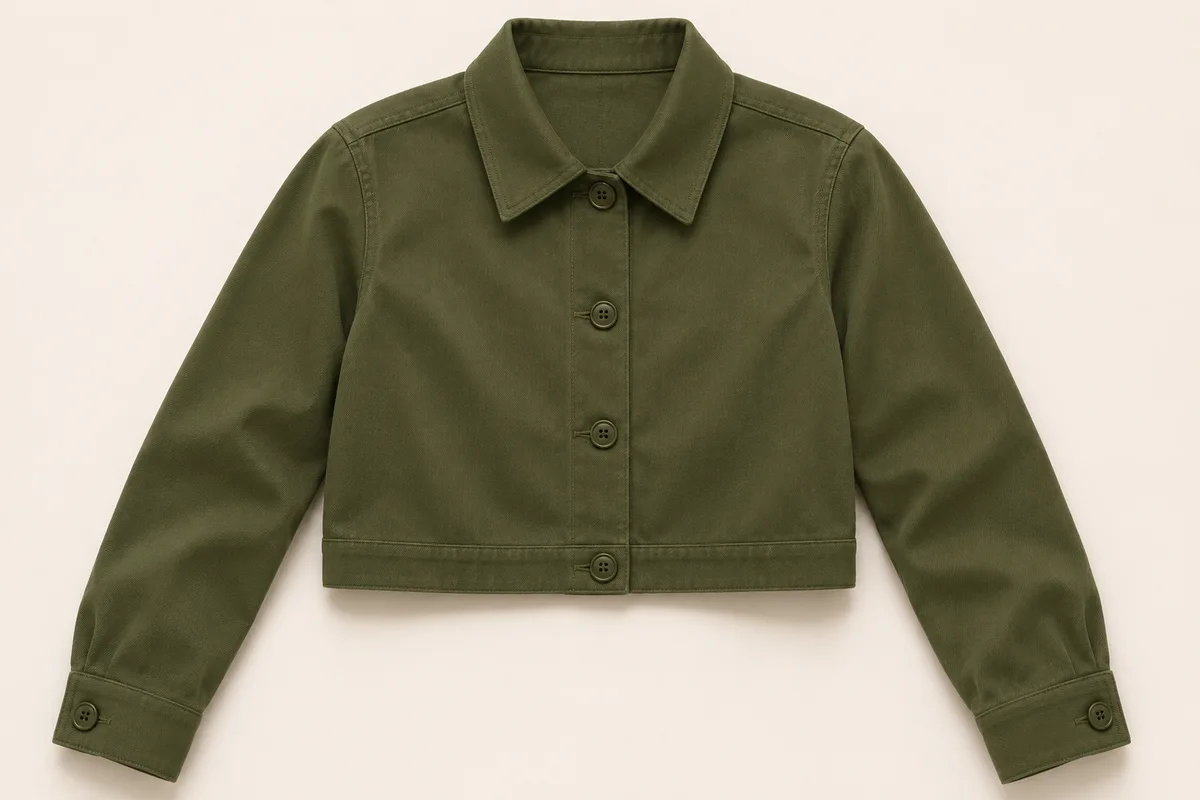
Generated garment-reference illustration.
Upload the portrait as image 1 and the jacket as image 2. Confirm Krea3, Image-to-Image, the source's aspect ratio and the displayed credit cost before generating. Adapt this original prompt to your inputs:
Use image 1 for the person, face, hair, body pose, hands, cream shirt, trousers, studio background and lighting. Replace only the navy jacket with the olive cropped jacket from image 2. Follow its collar, front closure, sleeve design and straight short hem. Show the jacket open over the existing shirt. Fit the sleeves around the existing arms and retain the original hand positions. Keep the camera view and framing unchanged.
Use your actual garment details in the prompt. If the reference shows a closed jacket but the brief requests it open, check whether enough of the inner construction is visible to support that request.
Review identity before styling
Compare the returned image with the untouched portrait at the same displayed size. Start with the face, hairline, gaze, shoulder position and hands. Check that the body has kept the intended stance and that the shirt and trousers remain recognizable.
For portraits that need to work across several scenes, the consistent character guide covers a broader reference workflow. Here, keep the review focused on one portrait and one jacket.
Then inspect the clothing boundaries. Look at the collar around the neck, the sleeve where it meets each wrist, and the front edges over the shirt. Follow the hem across the waist. Folds and contact shadows should make sense for the pose.
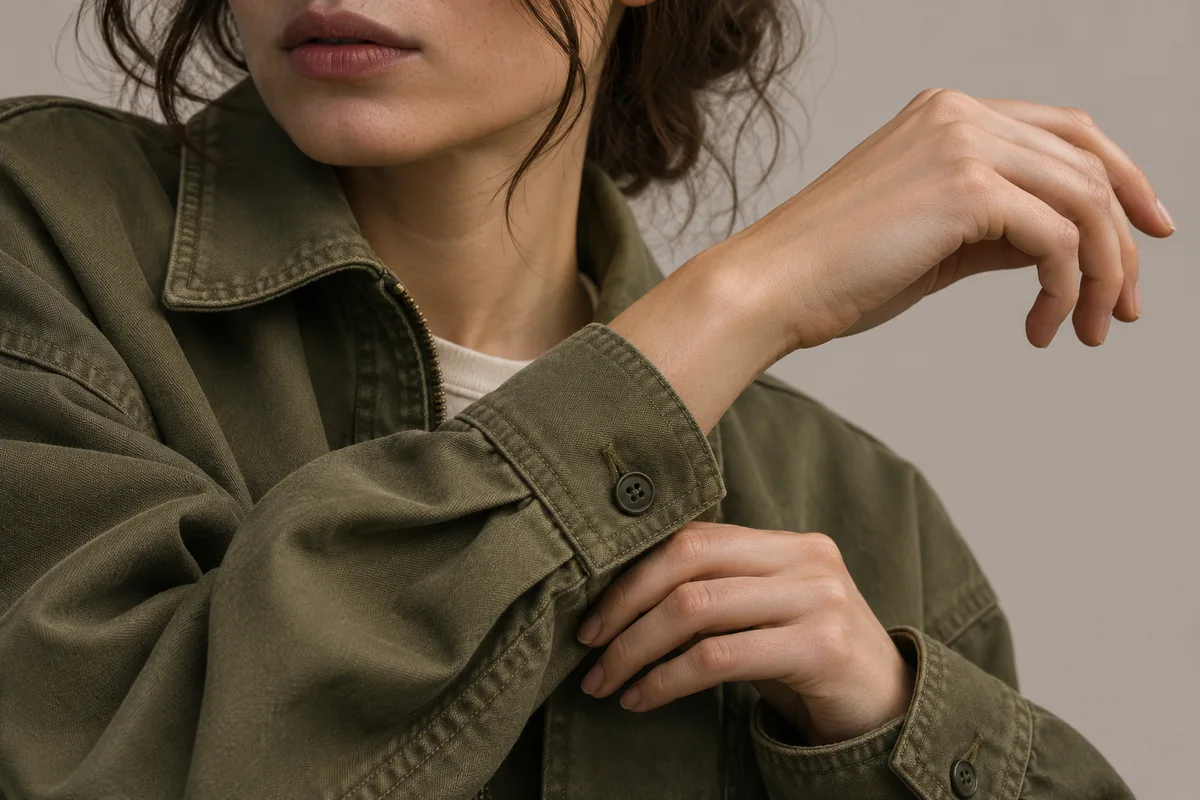
Generated detail study for reviewing cuffs and occlusion. These illustrations explain the method; this article does not report a Krea3 generation test.
Correct one boundary at a time
If the face and pose look right but a sleeve covers a hand, return to the original portrait and narrow the request:
Keep both hands and wrists visible in their original positions from image 1. End the olive jacket sleeves at the wrists, with the cuffs behind the hands. Preserve the portrait's face, hair, stance, shirt and trousers.
Compare the next candidate with the original and the previous attempt. If the jacket is too long, revise its hem description separately. Changing the background, pose and garment in the same attempt makes it harder to identify which instruction needs work.
Save a reviewed wardrobe concept
Inspect the chosen image at full resolution, then place it at its intended presentation size. Look again at the collar, closure, sleeve ends and hem. A distracting join can disappear in a thumbnail and return in a larger layout.
Save the source portrait, garment reference, selected result, prompt and settings together. Label the image as a wardrobe concept when sharing it for design discussion. For an exact product presentation, compare the visible garment details with the actual item and resolve any mismatch before using the image.