

Krea 3 Object Removal: Clean Up Distractions Without Rebuilding the Scene
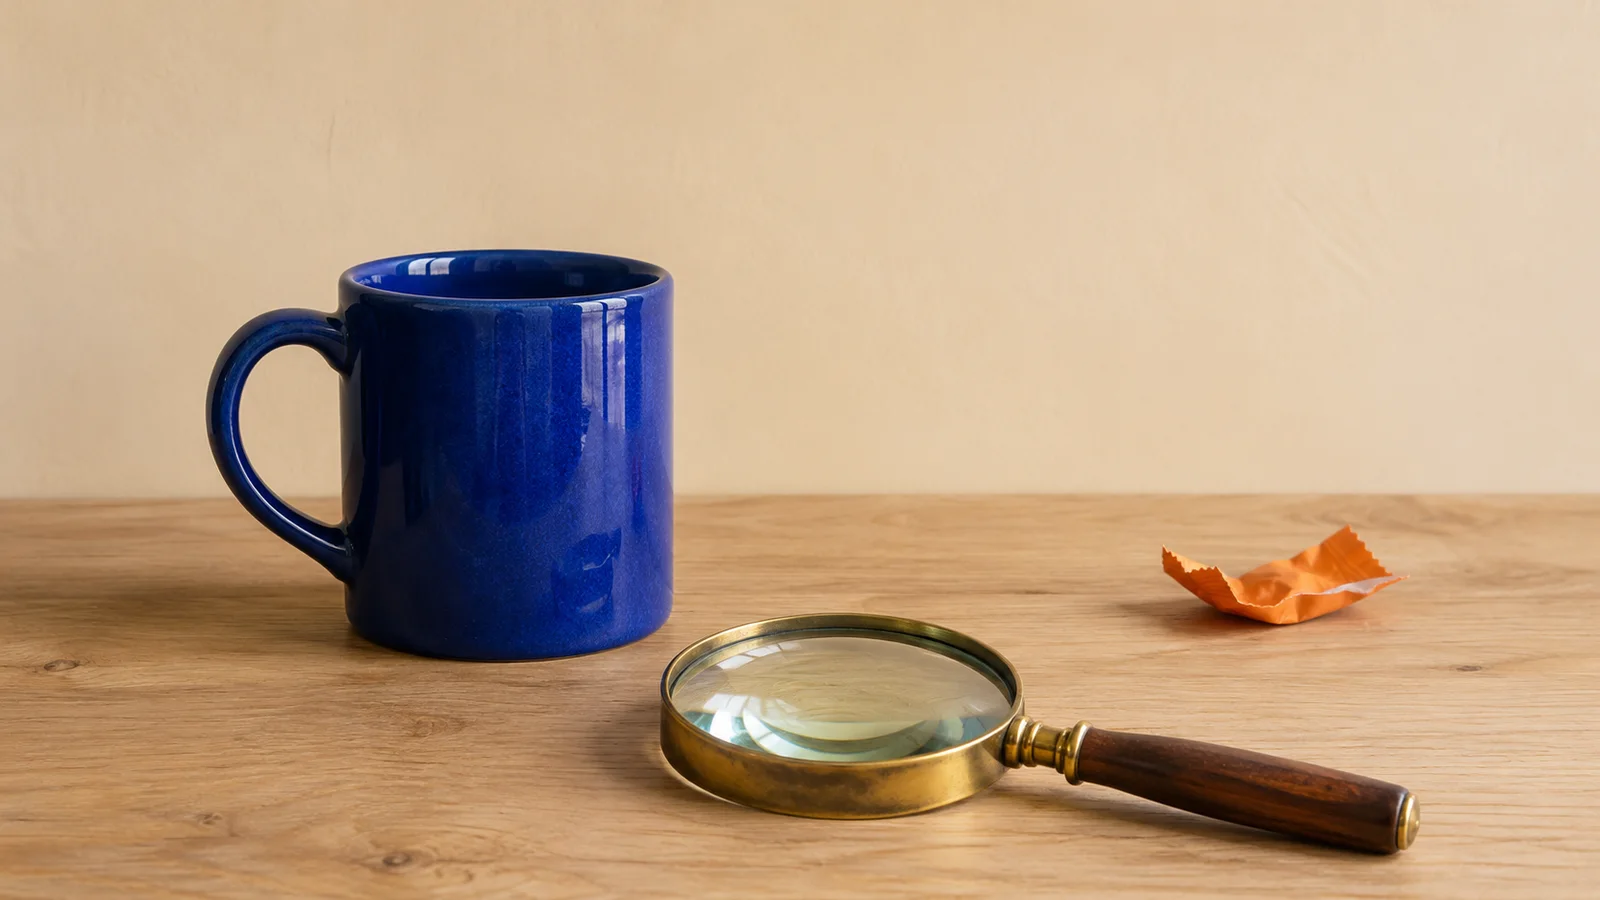
A product photo can be almost ready to publish: the light is right, the cup looks good, and a stray wrapper on the table pulls your eye away from both. Removing that distraction sounds simple. The harder part is keeping the cup, its shadow, and the grain of the table unchanged.
For Krea 3 object removal, start with a narrow instruction: name the object to remove, describe the surface that should replace it, and specify what must stay. Review the result against the original before accepting it. This is a practical editing workflow, not a guarantee that every untouched pixel will remain identical.
Krea's introduction to Krea 3 describes targeted edits and recommends specifying what stays before describing a change. The workflow below applies that idea to distraction cleanup. The examples are original planning prompts; we have not benchmarked the model on these images.
Choose object removal, background removal, or a crop
These operations solve different problems. Decide which deliverable you need before uploading the photograph.
| What you need | Suitable starting point | What to check |
|---|---|---|
| Keep the scene, remove a small wrapper or cable | A targeted image edit | Rebuilt texture, nearby edges, and remaining shadows |
| Put a product on a transparent background | A background remover | Cutout edges, holes, and transparency |
| Remove a distraction near the frame edge | A crop, if the composition allows it | Required aspect ratio and product breathing room |
| Recover a product detail hidden behind another object | Another source photo or careful retouching | Whether the hidden detail can be verified |
For a cutout, use the image background remover. It has a different purpose from reconstructing a small part of an otherwise finished scene. If you want a new setting and new lighting instead, the product background and lighting guide covers that broader brief.
1. Pick a source with room around the distraction
Start with the highest-quality original available. Avoid a heavily compressed screenshot when you have the source photograph. Keep an untouched copy so you can compare results and restart without accumulating changes.
For a first cleanup, choose an object that is clearly separated from the subject. A wrapper beside a mug is easier to inspect than a wrapper covering its handle. Look beyond the object itself: it may cast a shadow, appear in a reflection, or cover a seam in the background.
Write down three groups of details:
- Remove: the orange paper wrapper to the right of the mug and its own small shadow.
- Rebuild: the pale oak tabletop, following the surrounding grain and the existing wall junction.
- Preserve: the mug's shape, handle opening, glaze, position, contact shadow, lighting, and framing.
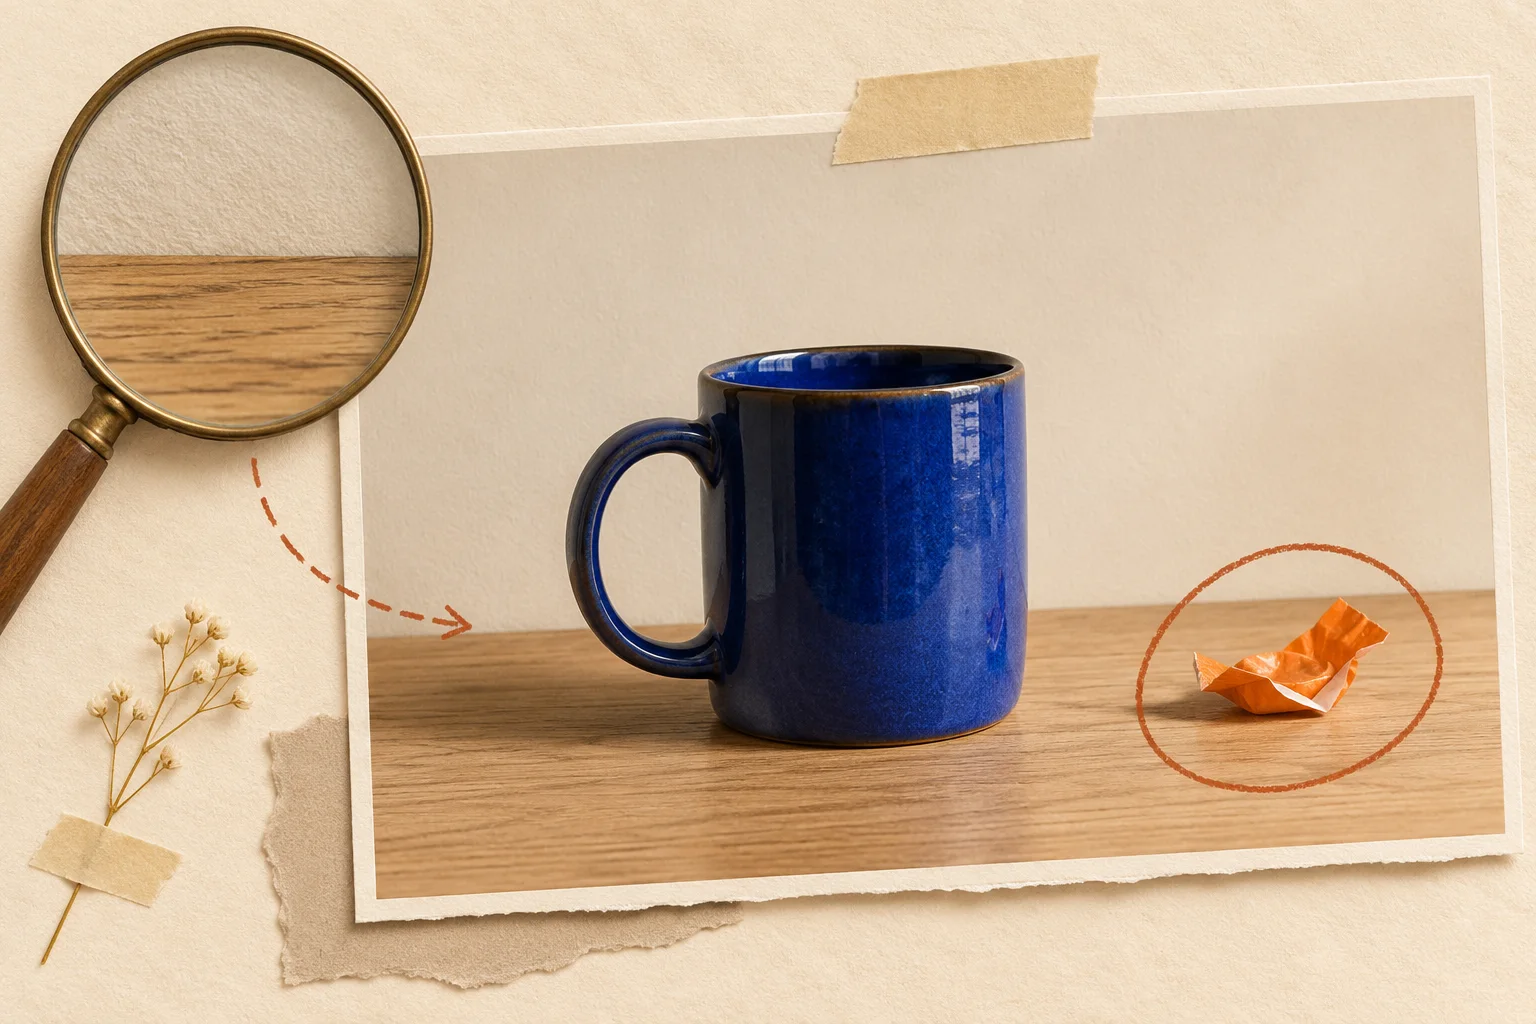
AI-generated editorial planning illustration. This is not a Krea output, a software screenshot, or a before-and-after test.
This brief keeps an easy-to-miss distinction explicit: the wrapper's shadow should disappear, while the mug's contact shadow should remain.
2. Make one removal request
In the Krea2 image editing workspace, choose Image-to-Image, upload your source, and enter a specific edit prompt. Keep the output shape aligned with the source for the first attempt; changing the composition at the same time makes unintended edits harder to spot. Use the controls and model options currently shown in the workspace.
Try this original starting prompt for the mug scene:
Keep the blue ceramic mug exactly in its current position, including its handle opening, shape, glaze highlights, and contact shadow. Preserve the camera framing, cream wall, and existing daylight. Remove only the small orange paper wrapper on the table to the right of the mug, together with the wrapper's shadow. Fill that area with pale oak tabletop that follows the surrounding wood grain. Keep the table-to-wall junction straight and in the same place.
Change the object description and surface details to match your photograph. If there are several similar objects, identify the target by location and color. A request to remove “the cable” is ambiguous when three cables cross the desk.
Avoid adding new props, recoloring the product, and improving the lighting in the same request. Each additional change gives you another thing to evaluate. For more on separating preserved details from requested changes, see the Krea 3 prompt guide.
3. Inspect the filled area and the preserved subject
A result can look clean at thumbnail size while failing at the final viewing size. Compare the original and the edit side by side at matching scale. Check the entire photograph, then inspect the changed region at full resolution.
| Inspection area | Look for | A useful next action |
|---|---|---|
| Removed object's footprint | A faint outline, color stain, or leftover shadow | Name the remaining mark in a narrow revision |
| Table or wall texture | Smearing, a repeated grain patch, or an abrupt texture change | Describe the direction and scale of nearby texture |
| Straight boundaries | A bent seam, shelf edge, tile line, or horizon | Require the boundary to continue through the edited area |
| Main subject | Changed handle, label, contour, or material highlights | Return to the original and strengthen the preservation brief |
| Shadows and reflections | Missing contact shadow or a reflected object that remains | Specify which shadow or reflection belongs to the removed object |
Do not judge only the patch. If the wrapper is gone but the mug's handle has changed, the image still fails the brief. Product photography needs a recognizable, accurate subject as well as an attractive background.
4. Revise the smallest remaining problem
If the result is sound apart from one small defect, describe that defect rather than asking to “make everything better.” For example:
Keep this composition and the mug unchanged. Remove the faint orange tint from the repaired tabletop area to the right of the mug. Continue the surrounding pale oak grain through that patch, with the same lighting and texture scale.
Compare the new version with the original again. If several attempts keep changing the mug or moving the wall junction, restart from the source with a simpler request. Repeatedly editing a damaged intermediate image can carry its errors forward.
Set a stopping rule before iterating. For this example, acceptance means the wrapper and its shadow are absent, the grain reads naturally at delivery size, the wall junction stays straight, and the mug retains its original visible features. Save the accepted file separately from the source.
When removal becomes reconstruction
If an unwanted object overlaps the product, the model must invent whatever was hidden. A plausible handle behind a wrapper is not evidence of the real handle's shape. For a catalog image, packaging detail, or other accuracy-sensitive asset, use a second photograph or a verified reference instead of accepting an invented detail.
Reflective and transparent surfaces need extra care. Removing a wrapper on polished metal may require editing its reflection as well. Removing something behind glass can alter the appearance of the glass itself. These are reasons to narrow the task or choose manual retouching when the output must match a physical product closely.
This workflow also does not produce transparency merely because an object disappears. If your deliverable requires an isolated product, make and inspect the cutout as a separate step.
Before you export
Confirm the final dimensions and format for the destination. Inspect the image at its actual display size, then check small product details at full resolution. Keep the original, accepted edit, and prompt together so another person can understand what changed.
The most useful first experiment is a separated distraction on a simple surface. Upload that source in the image editing workspace, request one removal, and accept the result only after checking the preserved subject as carefully as the repaired area.
Source and scope: Krea's developer announcement and the Krea2 editing interface were checked on November 2, 2026. Developer capability descriptions are not independent performance tests. This tutorial makes no speed, price, or pixel-preservation guarantee.