

Krea 3 Product Angle Planning: When to Generate and When to Reshoot
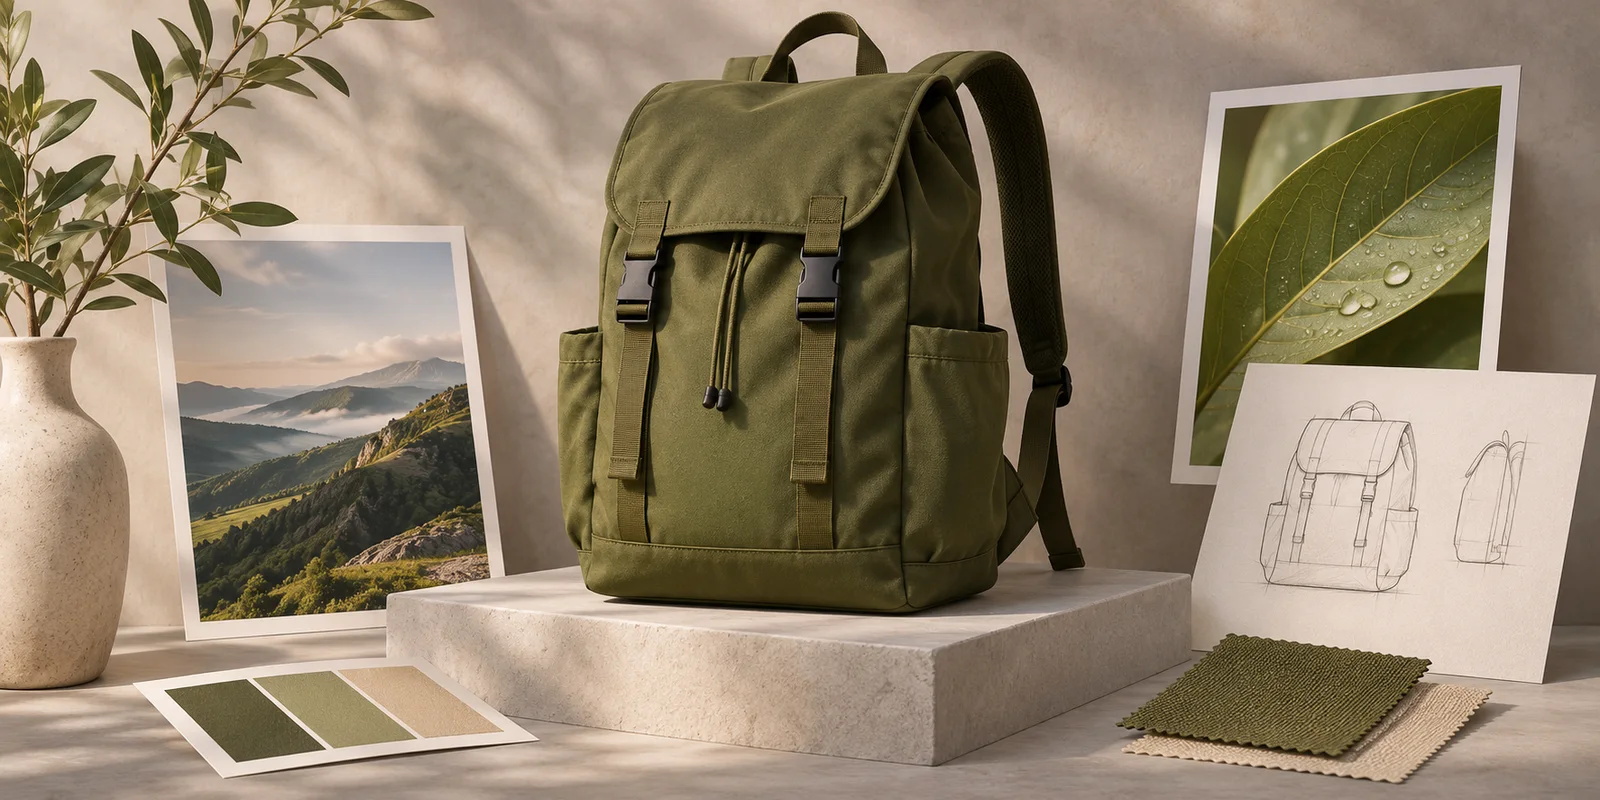
A front photo can show a backpack's color and pocket layout, but it cannot tell you how the straps attach at the back. If you want an alternate product angle, first decide which details the new view will reveal. Use reference editing to explore a camera position when those details are documented; take a new product photo when the view would reveal construction you cannot verify.
The Krea 3 model page describes using image references to guide subjects and composition. You can apply the planning method below in the Krea2 image workspace, with Image-to-Image and the model, resolution and credit settings shown for your account. The workflow produces candidates for inspection. It does not turn a single image into a reliable 3D record.
Make a visibility list before uploading
Suppose an olive backpack already has an approved front photo, and you want a front three-quarter image for a campaign layout. Write down what the new view must show: the width of the side panel, the curve of the main zipper, and the edge of the side pocket. Compare that list with the images you actually have.
| Intended view | Evidence to check | If it is missing |
|---|---|---|
| Front three-quarter | Front shape, front pocket and side panel | Take a quick side reference before iterating |
| Rear three-quarter | Strap anchors, back panel and hardware | Photograph the back; a front view cannot confirm these parts |
| Interior close-up | Lining, compartments and fastening positions | Photograph the open product for a listing |
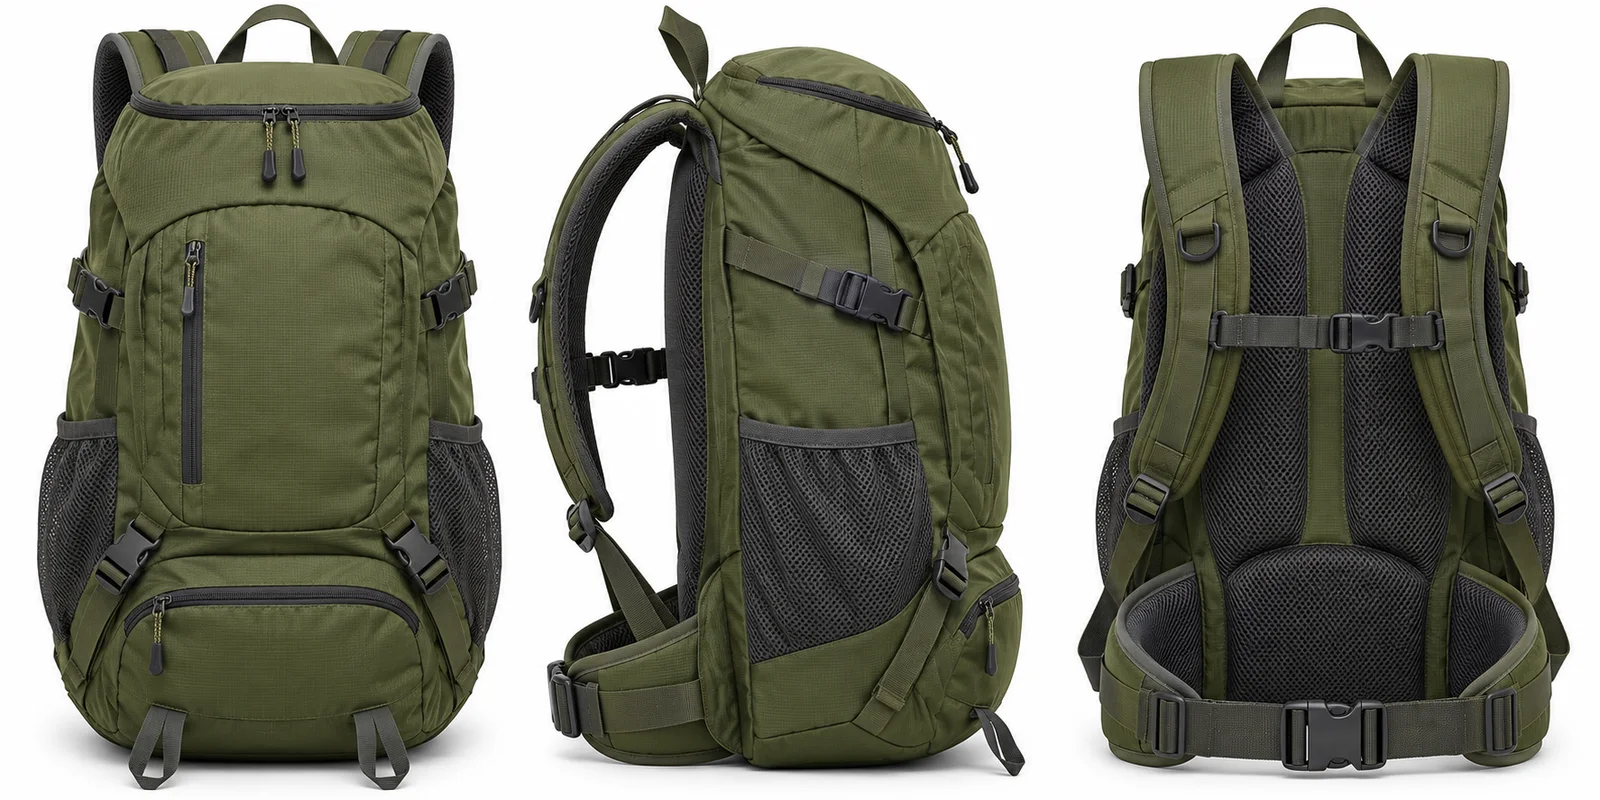
Generated illustration of reference coverage, not photographs of a real SKU or Krea test results.
Use photos of the same version and colorway. A photo from another revision can quietly introduce a different buckle or pocket. If you only have one source and the product is no longer available, keep the proposed view clearly labeled as a concept or choose a crop that stays within the documented view.
Assign each reference a job
Use the front photo for identity and proportions, the side image for depth and the pocket, and a detail crop only if the wider references cannot resolve a feature. Avoid asking the editor to change the angle, color, background and light in the same pass. If the scene rather than the angle needs work, use the background and lighting workflow.
Try a brief like this and adapt it to the details visible in your own photos:
Use image 1 for the olive backpack's front panel and overall proportions. Use image 2 for the depth, side pocket and visible zipper path. Frame a front three-quarter view at product height. Keep the existing pocket count, straps, stitching and materials. Use an unobtrusive studio background. Do not add branding or hardware.
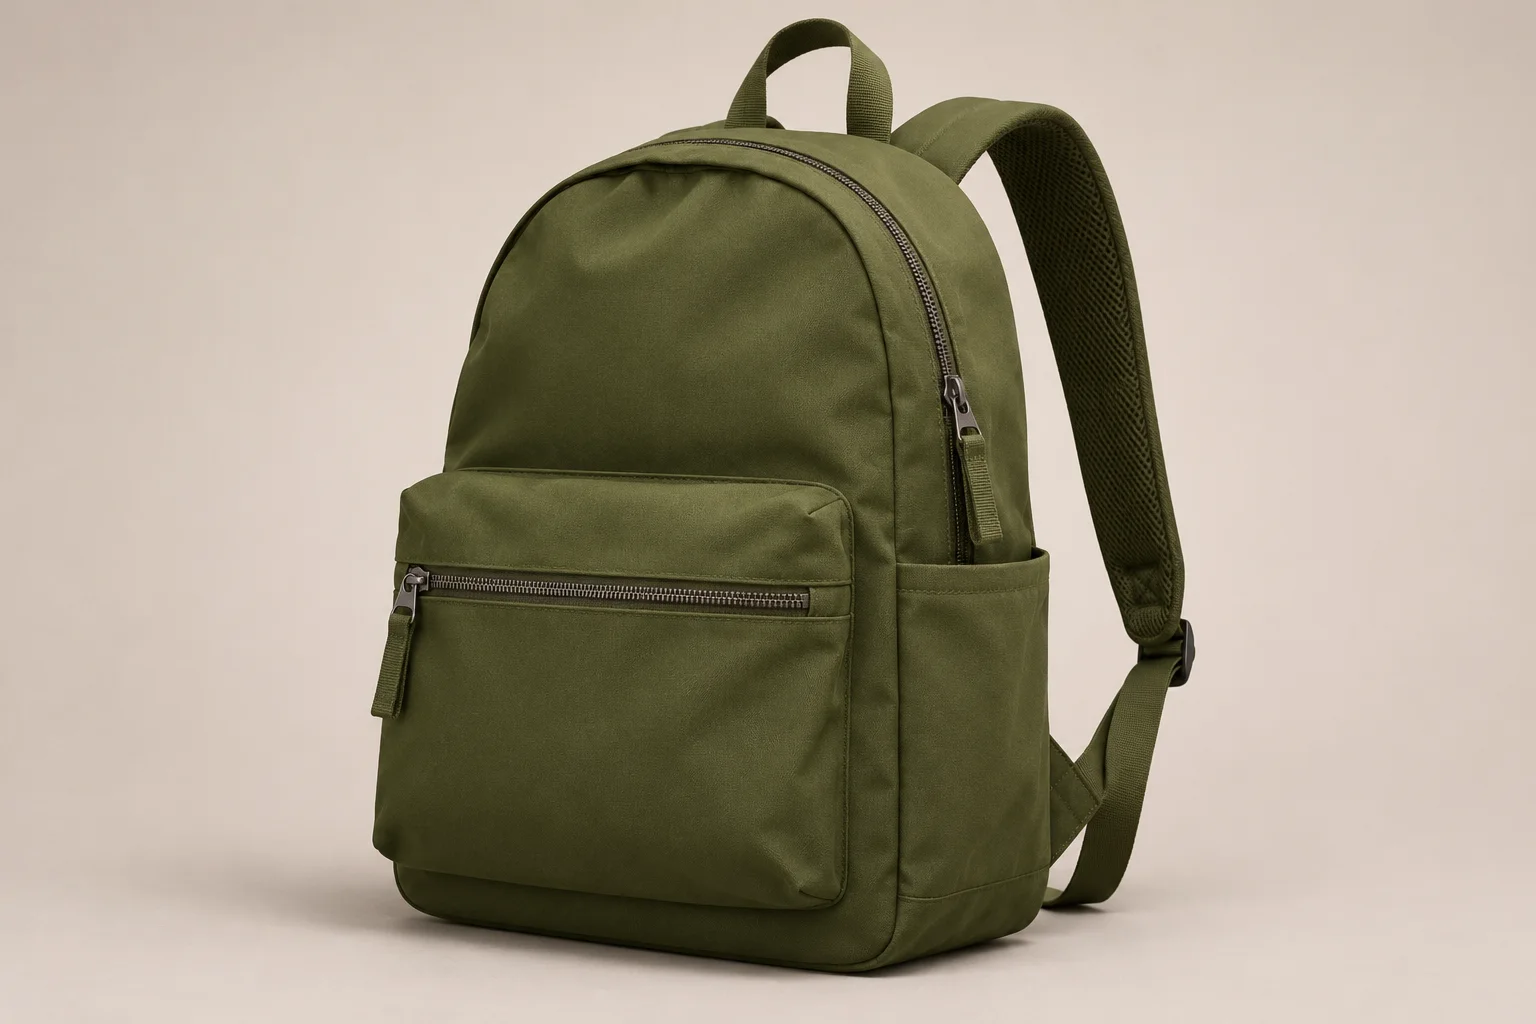
Generated composition study. It illustrates an angle to request, not the predicted output from the preceding concept sheet.
Start with one candidate and review the current credit cost before asking for more. The same camera phrase can produce different framing across tools; if the requested side barely shows, specify which panel must be readable instead of adding more vague terms about perspective. For more on structuring the edit, see the Krea 3 prompt guide.
Verify the parts the new angle makes visible
First compare the silhouette and side depth against the reference at matching display sizes. Then follow the zipper and seams from one panel to the next. Count buckles and pockets; check each strap at its attachment point. A clean shadow and realistic fabric are not evidence that a pocket is in the right place.
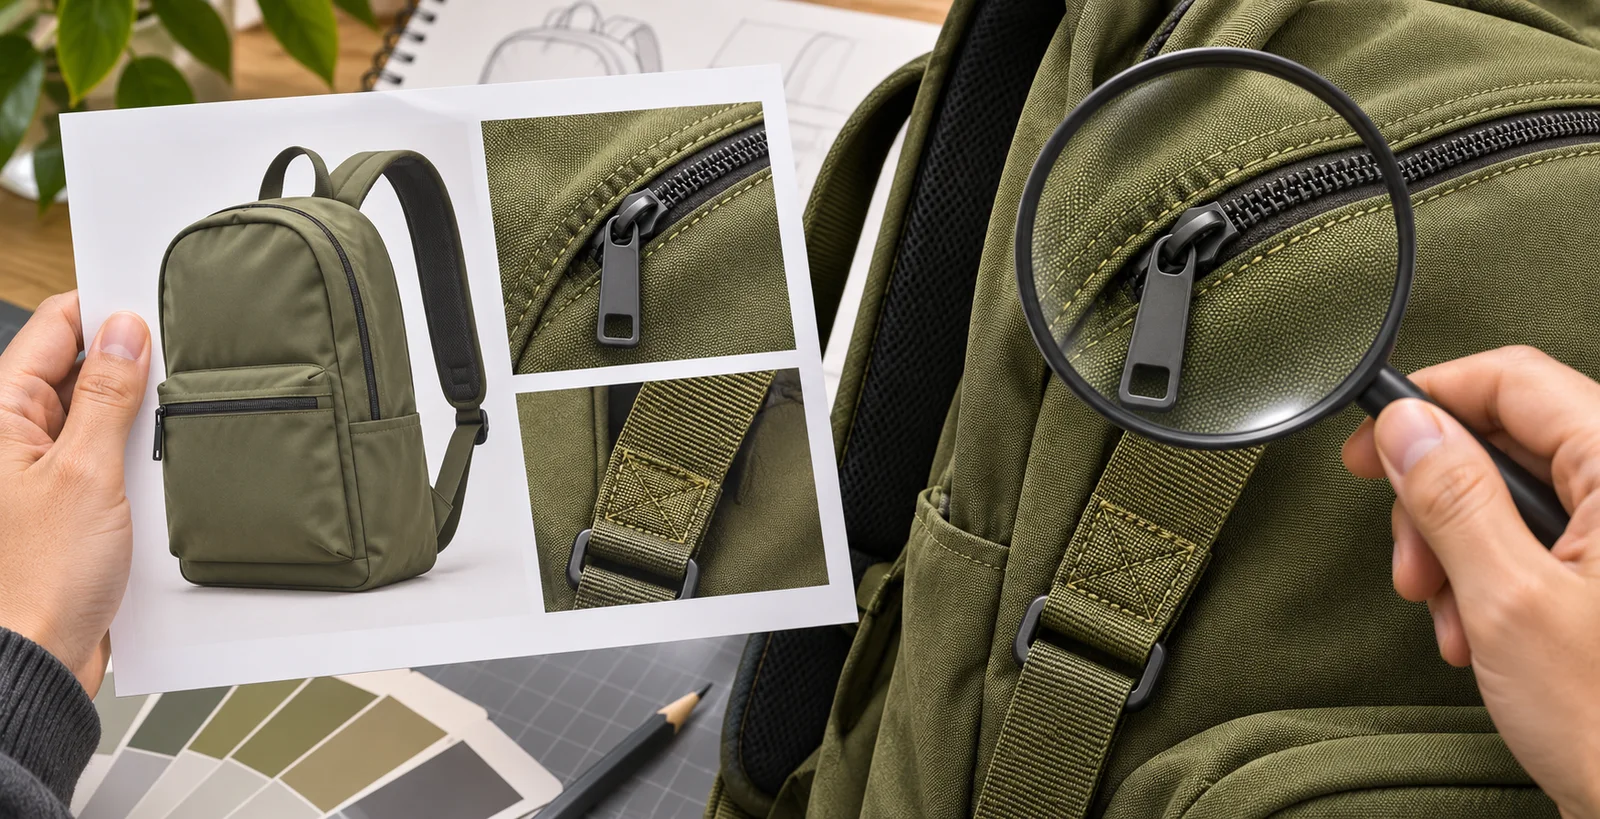
Generated review scenario, not a measured accuracy test.
If the composition works but one supported feature is wrong, revise the instruction for that feature only. If a feature is unsupported, don't spend more attempts trying to make it look plausible. Take a photo that shows it. For an ecommerce listing, use approved product photography wherever an image conveys a feature a buyer relies on. An unverified angle can still help a team choose where to position the camera at the next shoot.
The useful deliverable is a short shot list: intended view, source for each newly visible detail, and a decision to generate a concept or reshoot. Keep it with the references so the next reviewer can tell what was actually verified.