

Krea 3 Furniture Replacement: Try a New Chair in an Existing Room
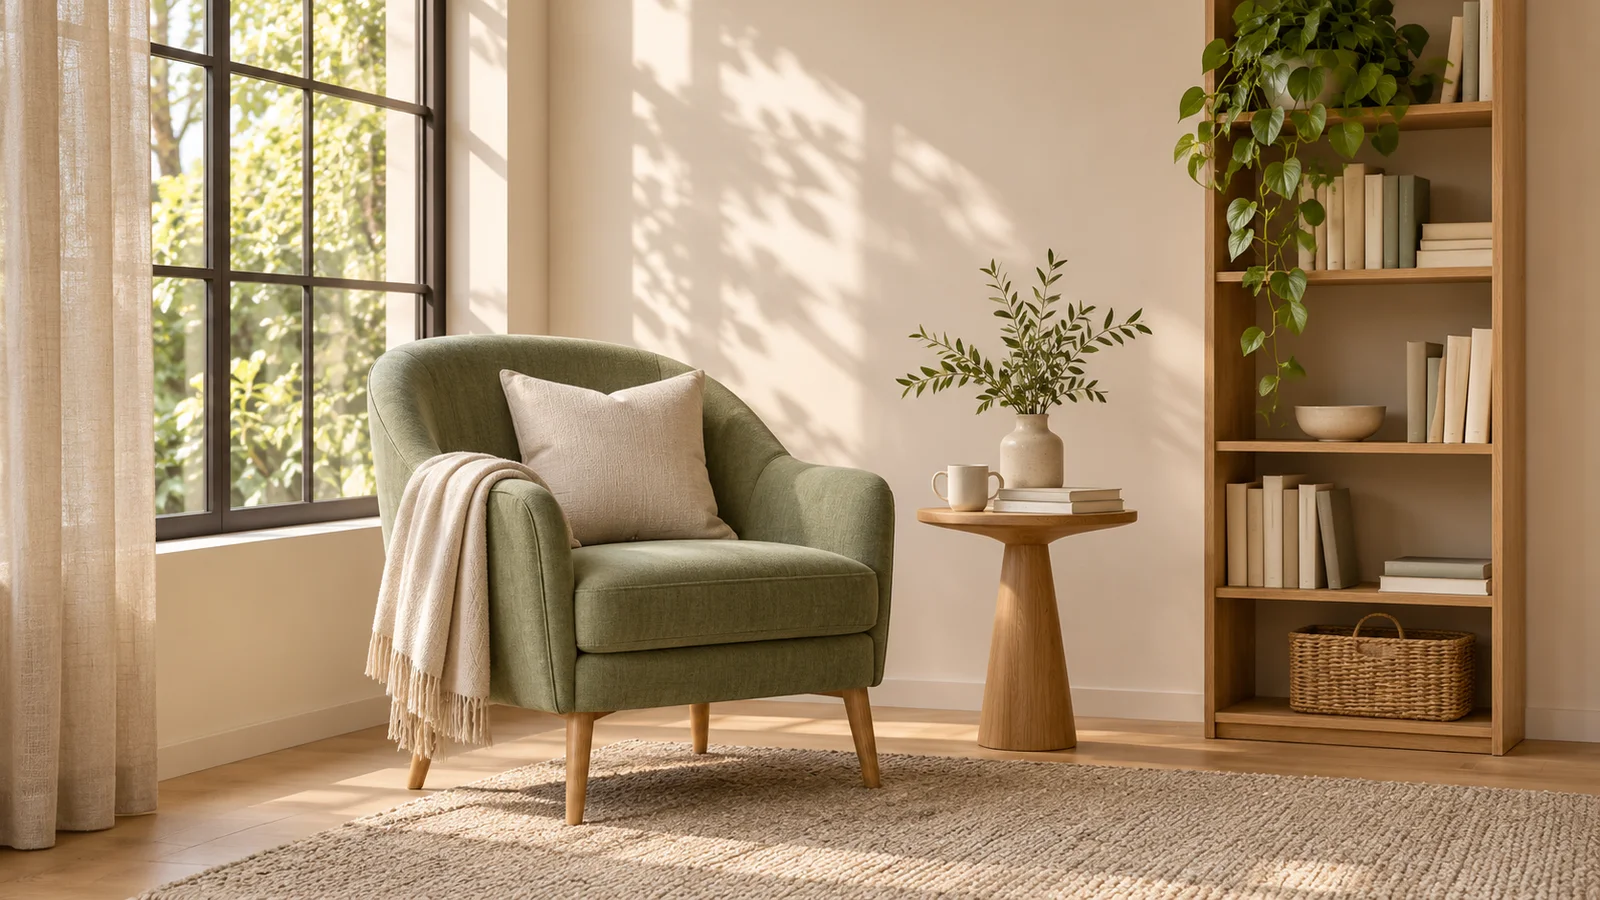
A new armchair may look good in a product photo and still feel wrong beside your window. Before planning a whole room redesign, it helps to see that one chair in the room you already have.
A useful Krea 3 furniture replacement brief gives two references different jobs: the room photo controls the scene, and the furniture photo defines the replacement. Ask to replace one item, preserve the room's fixed details, and review the chair and its surroundings separately. The result is a visual concept for discussion, not a measured fit check or an exact product rendering.
You can prepare these references in the Krea2 image editing workspace. This guide follows an original reading-corner example: replacing a tan leather armchair with a sage upholstered chair while keeping the window, rug, shelving, and side table.
Krea's developer announcement shows a room edited with separate furniture references and recommends naming each reference's role. The steps below apply that idea to a single chair. We have not run a furniture-generation benchmark; the cover and reference-board illustrations are editorial concepts.
Start with a room photo and one clear chair reference
Use the room photo that best shows where the chair should sit. Include enough surrounding floor and wall to establish perspective. Keep the window frame, rug edge, and nearby furniture visible: these become useful landmarks when comparing the result with the original.
Avoid starting with a panoramic image that stretches furniture near the edges. A heavily cropped chair or a dark area hiding its feet also makes placement harder to evaluate. Retain the untouched photograph rather than repeatedly editing your only copy.
For the replacement reference, choose a clear view of the actual chair design. A three-quarter view that shows the back, arms, seat, and legs is useful. If the reference has a busy showroom background, crop out unrelated furniture while keeping the entire chair visible. Do not mix photographs of similar but different models.
| Input | What it should establish | What it should not contribute |
|---|---|---|
| Existing room photo | Camera position, room geometry, light, and placement | The old chair's design |
| Candidate chair photo | Back shape, arm profile, upholstery, and legs | A different room, extra props, or studio background |
| Written brief | Which item changes and what stays | Unstated assumptions about exact dimensions |
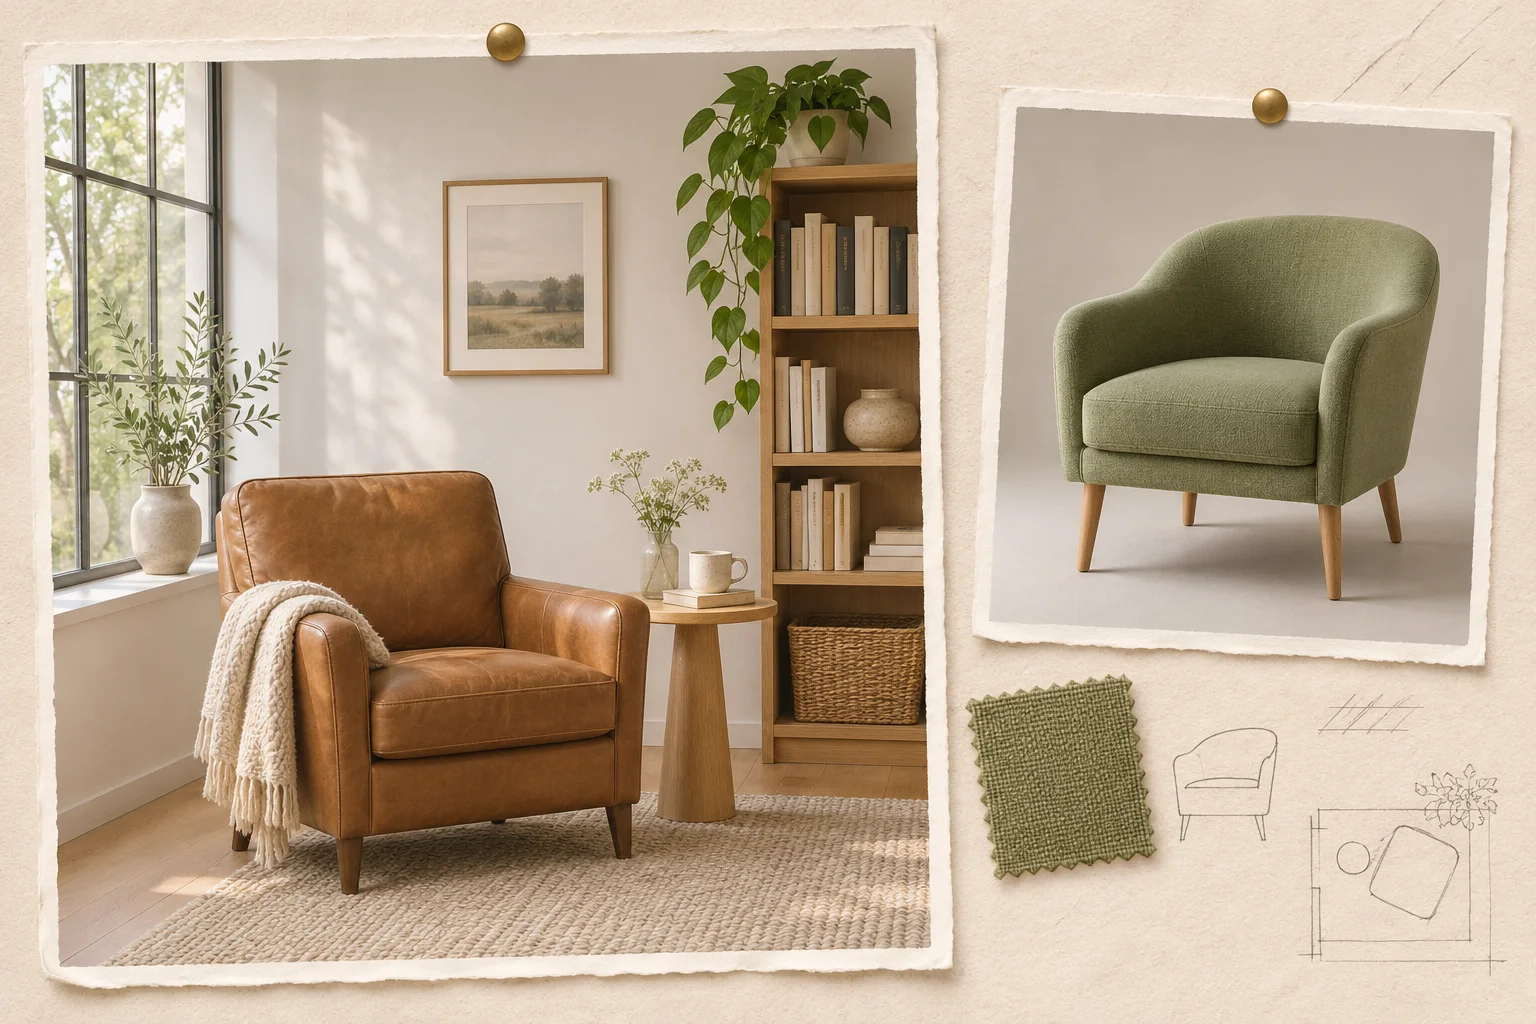
AI-generated planning illustration showing two example input references. Neither card is an actual Krea test, and the board is not a before-and-after result.
If you have only a sketch rather than an existing room photo, use the sketch-to-render workflow. That task starts by interpreting drawn structure; this one starts with a room whose visible structure should survive.
Write a short preservation inventory
Before opening the editor, list the elements that make this room recognizable. For our reading corner, those are the tall window on the left, the wall picture, the narrow bookshelf, the round side table, the rug boundary, and the camera position.
Then name the target precisely. If the room has several chairs, “replace the chair” is ambiguous. Identify the tan leather armchair nearest the window. Decide what should happen to anything resting on it. In this example, the draped throw leaves with the old chair; the vase and cup on the side table stay.
Some local changes are expected. A replacement chair has a different silhouette, so it may reveal a patch of wall or rug that the old chair covered. Its feet and contact shadow also need to meet the floor naturally. Asking for every pixel outside the new chair to remain identical can conflict with those necessary changes.
Keep those allowances local: nearby revealed surfaces and chair-related shadows may change; the window, shelves, table, and overall room layout should not be redesigned.
Upload the references and request a replacement
In the image editing workspace, select Image-to-Image and upload the room and chair references. Check their displayed order before referring to them by number. Use the model options and settings actually shown, and review the displayed credit requirement before generating.
Start with the room's existing composition. Avoid changing the aspect ratio, camera angle, lighting mood, and furniture all in the first request. You need a stable comparison to tell whether the replacement worked.
Here is an original prompt for the two-reference example:
Image 1 defines the room, camera view, placement, and daylight. Image 2 defines only the replacement chair design. In image 1, replace the tan leather armchair nearest the window with the sage upholstered chair from image 2. Remove the old chair and its draped throw; do not add a second chair. Preserve the window, wall picture, bookshelf, round side table and its objects, rug boundary, and room layout. Keep the new chair facing into the room in the old chair's location. Follow image 2's rounded back, arm profile, fabric upholstery, and oak leg design. Match the room's perspective and window light, with natural foot contact and a local contact shadow. Do not import the studio background from image 2 or add accessories.
Adapt the inventory to your own room. For a general explanation of reference roles and preservation instructions, see the Krea 3 prompt guide.
Review the room first, then the chair
Compare the original room and the concept at the same viewing size. First check landmarks. Did the window move? Did the bookshelf grow wider? Is the rug a different shape? A pleasing new chair does not compensate for a room that has quietly changed around it.
Next compare the chair against its reference. Look at its recognizable design rather than its color alone: back height relative to the seat, arm shape, leg arrangement, cushion divisions, and upholstery seams. A generic green armchair is not the same result as the chair you supplied.
Finally, inspect how the object meets the scene:
| Check | Signs to investigate | Useful correction |
|---|---|---|
| Placement | Chair drifts onto a walkway or away from the original location | Describe its position relative to the rug and side table |
| Perspective | Seat or legs follow a different viewing angle | Reassert the room photo as the camera reference |
| Floor contact | Feet float, sink, or have inconsistent shadows | Request natural contact on the existing floor plane |
| Occlusion | A table edge passes through an arm, or a chair leg disappears | Describe which object belongs in front at that overlap |
| Light | Chair keeps its studio lighting | Match the room's window direction and local shadows |
| Room preservation | Wall details, shelves, or rug change | Return to the original and narrow the preservation brief |
Inspect any area newly exposed by the replacement. If a slimmer chair reveals rug underneath, the generated texture may look plausible without matching the real rug. A second room photo can help you verify it. Treat unseen details as reconstruction, not recovered information.
Correct one problem without redesigning the room
If the chair design is right but it floats above the rug, make a narrow revision:
Keep the chair design, position, room, and camera unchanged. Correct the chair's foot contact so its visible feet rest naturally on the rug. Add a soft local shadow consistent with daylight from the left. Do not move or resize the rug, side table, or bookshelf.
If the result instead imports an entire showroom or repeatedly changes the chair design, return to the original inputs. Simplify the reference roles rather than layering more instructions onto an already altered room. If you want an empty corner instead of a new item, the object-removal guide addresses that separate task.
Save acceptable variants separately and use the same room master when exploring another chair. That makes the comparison more useful than building each alternative from the previous generated version.
Check real dimensions before choosing furniture
A convincing image cannot establish that the chair fits. Verify the manufacturer's actual width, depth, and height against your room measurements, including space to walk around it and the route through doors. The model can alter apparent scale to make a composition work.
Use fabric samples and product specifications to check color and finish. Screens, room lighting, and generated texture can all change how upholstery looks. For an exact product presentation, a controlled composite or measured 3D workflow may be more appropriate than further generation.
When sharing the concept, keep the room source, chair reference, prompt, and accepted image together. Label it as a furniture visualization so the recipient knows what was explored. The useful outcome is a clearer design conversation, followed by the measurements and material checks needed for a real purchase.
Checked November 4, 2026: Krea's developer announcement and the Krea2 editing workspace. Developer claims are not independent performance tests, and this workflow does not assume identical model access across services. Use current workspace settings and costs.